 Domain RegistrationFind and register the perfect domain for your website.
 .COM DomainChoose a widely recognized domain to build global credibility.
 All TLDsFind and register your perfect domain. Choose from local and global extensions.
 whoisCheck domain ownership details, expiration dates, and registrar information.
 US DomainRegister a .US domain and build trust in the USA.
 Web HostingEverything your website needs to run smoothly
 WordPress HostingWordPress hosting that just works
 Windows HostingReliable hosting for Windows environments
 Reseller HostingTurn hosting into your business
 Email HostingEmail that looks professional and works anywhere
 cPanel HostingFull control of your hosting with cPanel
 Affiliate ProgramJoin as a partner and earn commissions on every referral you send our way.
 Vps HostingScalable virtual servers that expand as you need.
 Dedicated ServersGet complete access and full control over your dedicated physical server.
 Managed vpsNot tech-savvy? We will take care of everything with our fully managed VPS hosting for you.
So you have been searching for everything around building your first site, and now you want to build a website. I know you’ve heard WordPress is the best place to start. That’s true.
Unfortunately, when you Google “how to set up WordPress hosting,” suddenly there are a hundred tabs open, a dozen confusing terms, and zero clarity on where to actually begin.
That’s a frustrating place to be, especially when you just want a working website.
Here’s the good news;
Setting up WordPress hosting is not as complicated as it looks. Once you understand the steps, it becomes a straightforward process that anyone can follow, even if you’ve never built a website before.
We will cover;
- Choosing a Hosting Provider
- Selecting a Hosting Type
- Picking a Hosting Plan
- Registering a Domain
- Installing WordPress
- Configuring Your Website Settings
- Securing Your Website
- Backing Up Your Website
- Testing Your Website
- Use Truehost WordPress Hosting
Let’s walk through it, step by step.
1) Choose a Hosting Provider

The very first step to set up WordPress hosting is picking where your website will live. That’s where a host provider comes in. A hosting provider is basically a company that stores your website files on a server and makes them accessible to anyone on the internet.
Not all hosting providers are equal, though. You want one that offers fast servers, strong uptime, and clear WordPress support.
Uptime is the percentage of time your site stays online. Anything below 99.9% uptime is a red flag, because downtime means people can’t reach your site, and that costs you visitors and trust.
According to W3Techs, WordPress powers over 43% of all websites on the internet as of 2024. That kind of popularity means most good hosting providers support it.
But “supports WordPress” and “optimized for WordPress” are two very different things. Go with a provider built for WordPress performance, like Truehost.
2) Select a Hosting Type
Once you’ve picked a provider, you need to choose your hosting type. There are three main options:
Shared hosting
This is the most affordable option. Your website shares server resources with other websites. It works well for new sites with low traffic. The downside is that if another site on your server gets a traffic spike, it can slow yours down.
VPS hosting
A Virtual Private Server gives you a dedicated portion of a server’s resources. It’s faster and more stable than shared hosting, and a solid choice when your traffic starts growing.
Managed WordPress hosting
The hosting type is built specifically for WordPress. The host handles updates, security, and performance behind the scenes. It’s the easiest option and usually the fastest.
For most beginners looking to set up WordPress hosting for the first time, shared hosting is a fine starting point. As your site grows, you can always upgrade.
3) Pick a Hosting Plan
Now you choose the specific hosting plan within your hosting type. Before clicking “buy,” check three things:
First, storage.
Make sure the plan gives you enough disk space for your content, especially if you plan to upload images, videos, or documents.
Second, bandwidth.
This is how much data your site can transfer each month. If your site gets decent traffic, you need enough bandwidth to handle it without slowdowns.
Third, one-click WordPress install.
Most reliable hosts offer this feature. It saves you a lot of time and removes the need for any technical setup.
Pick a hosting plan that fits both your current needs and leaves room to grow. Going too cheap upfront often means migrating to a new plan later anyway, which is more work.
4) Register a Domain
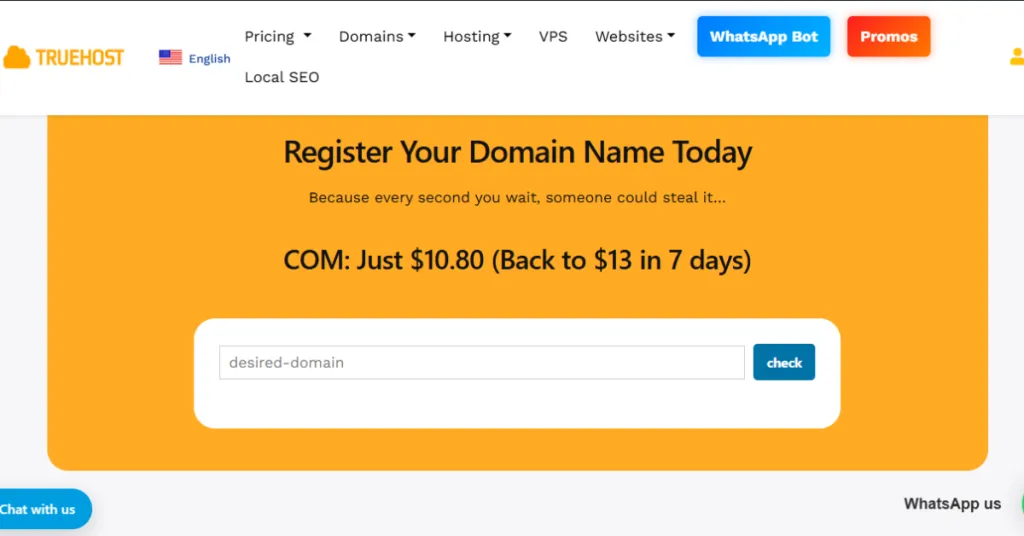
Your domain is your website’s address, like yourname.com. Before you can fully set up WordPress hosting, you need a domain registered and connected to your hosting account.
Some hosting providers let you register a domain directly through them, which makes the connection automatic. Others require you to buy a domain separately from a domain registrar, then point it to your hosting account using something called DNS settings.
Either way, make sure your domain is fully active and connected before you try to install WordPress. If the domain isn’t pointing to your hosting server yet, the installation won’t work properly.
Allow up to 24–48 hours for DNS changes to fully propagate, though it often happens much faster.
Pick a domain name that’s short, easy to spell, and relevant to your site’s topic or brand. Avoid hyphens and numbers where possible. Simple is always better.
5) Install WordPress
Here’s the step most beginners worry about most, and it’s actually the easiest one. To set up WordPress hosting properly, you need WordPress itself installed on your server.
If your host offers one-click installation (and most good ones do, for example, Truehost), the process takes less than five minutes. You log into your hosting dashboard, find the WordPress installer, enter a few basic details, and click install. Done.
If one-click install isn’t available, you can upload WordPress manually via FTP (File Transfer Protocol). You download the WordPress files from wordpress.org, connect to your server using an FTP client like FileZilla, upload the files, and complete the setup through your browser. It takes a bit longer but works just as well.
During installation, you’ll be asked to create an admin username and password. Use a strong password, not something obvious like “admin123.”
This is your front door. Lock it properly.
6) Configure Your Website Settings
Once WordPress is installed, log in to your dashboard at yourdomain.com/wp-admin. The first thing to do is set up your basic site settings.
Go to Settings and fill in your website title and tagline. These show up in browser tabs and search results, so make them clear and relevant. Set your timezone so scheduled posts and backups run at the right time.
Next, go to Appearance and choose a theme. A theme controls how your site looks. WordPress has hundreds of free themes, and many hosting providers include premium themes in their plans.
Pick something clean, mobile-friendly, and fast-loading.
Finally, go to Settings > Permalinks and choose “Post name” as your URL structure. This makes your page URLs clean and readable, which helps with both user experience and search engine optimization.
7) Secure Your Website
Your website security is not optional. One of the most important parts of how to set up WordPress hosting correctly is making sure your site is protected from day one.
Start with SSL. An SSL certificate encrypts data between your site and your visitors. Most hosting providers, including Truehost, include free SSL with their plans.
Once active, your site will show “https” in the address bar, which builds trust and is required by Google for good rankings.
Next, update your admin password and review your user roles. Only give admin access to people who truly need it. Then install a security plugin like Wordfence or Solid Security. These tools monitor your site for threats, block suspicious login attempts, and alert you to vulnerabilities.
According to Sucuri’s 2022 Website Threat Research Report, over 95% of the infected websites they cleaned were running on WordPress, mostly because of outdated plugins and weak passwords.
Staying updated and locked down goes a long way.
8) Back Up Your Website
Before anything else goes wrong, and eventually something will, set up automatic backups. A backup is a saved copy of your entire website that you can restore if something breaks.
Many hosting providers offer automatic backups as part of their plan. You can also use plugins like UpdraftPlus to schedule daily or weekly backups.
Store your backups somewhere separate from your main server, like Google Drive or Dropbox, so you always have a clean copy to fall back on.
Once your backup system is in place, test it. Actually, download a backup and go through the restoration steps. A backup you’ve never tested is a backup you can’t fully trust.
9) Optimize Performance
A well-set-up WordPress site should load in under 3 seconds. To hit that target, you need to do a bit of performance optimization.
Install a caching plugin like W3 Total Cache or WP Super Cache. Caching stores a static version of your pages so they load faster for repeat visitors. Next, compress your images before uploading them.
Large image files are one of the top causes of slow load times. Use a tool like TinyPNG or a plugin like Smush to handle this automatically.
Also, make sure your hosting plan provides enough server resources to handle your expected traffic. A fast site on a weak server is still a slow site.
10) Test Your Website

Before you tell the world your site is live, test everything. Open your site on both desktop and mobile. They can look very different. Click every link. Submit every form. Check that images load, videos play, and your contact page actually sends messages.
Use Google PageSpeed Insights to get a performance score and see what needs fixing. Run your site through GTmetrix for a detailed breakdown of load time and file sizes.
Make your final adjustments, then go live with confidence.
Use Truehost WordPress Hosting
When you set up WordPress hosting with Truehost, you get servers optimized specifically for WordPress performance. This means
- Faster load times
- Stronger uptime
- a smoother experience for every visitor.
- One-click installation
- Built-in security features
- Automatic backups are all included
You spend less time managing the technical side and more time building your site.
Truehost takes the heavy lifting out of the process so you can focus on what your website is actually for.
How to Set Up WordPress Hosting Take Away
To set up WordPress hosting the right way, you need to work through each step in order:
- Pick a reliable provider
- Choose the right plan and hosting type
- Register your domain
- Install WordPress
- Configure your settings
- Lock down your security
- Back everything up
- Optimize for speed
- Test before going live
Each step builds on the last.
Truehost makes the whole process easier with fast servers, one-click WordPress installation, and the tools you need to keep your site running well from day one.
Start with the right host, and everything else becomes simpler.