Domain RegistrationFind and register the perfect domain for your website.
 .COM DomainChoose a widely recognized domain to build global credibility.
 All TLDsFind and register your perfect domain. Choose from local and global extensions.
 whoisCheck domain ownership details, expiration dates, and registrar information.
 US DomainRegister a .US domain and build trust in the USA.
 Web HostingEverything your website needs to run smoothly
 WordPress HostingWordPress hosting that just works
 Windows HostingReliable hosting for Windows environments
 Reseller HostingTurn hosting into your business
 Email HostingEmail that looks professional and works anywhere
 cPanel HostingFull control of your hosting with cPanel
 Affiliate ProgramJoin as a partner and earn commissions on every referral you send our way.
 Vps HostingScalable virtual servers that expand as you need.
 Dedicated ServersGet complete access and full control over your dedicated physical server.
 Managed vpsNot tech-savvy? We will take care of everything with our fully managed VPS hosting for you.
Deleting a WordPress website can be essential to start over or discontinue your site. WordPress remains one of the most popular website and blog hosting platforms globally, with nearly 35 percent of active sites using it. Despite its wide usage and strong features, there are times when you might decide to remove your WordPress site. In this piece, you’ll learn how to delete a WordPress Website, but first, let’s look at the reasons.
Why You Might Delete Your WordPress Site
Deleting a WordPress site is like decluttering your digital space. Unlike a simple wardrobe clean-out, this decision often involves several key reasons:
▪️Rebranding and Restructuring
As businesses evolve, their digital presence might need to change as well. Deleting a site could be part of a strategic rebranding, aligning your online presence with new goals, designs, or target audiences.
▪️Consolidation and Simplifying
Managing multiple sites can become overwhelming. Deleting a site may be part of a strategy to consolidate several sites into one, simplifying operations and focusing efforts more effectively.
▪️Security and Cleanup
If a site has been compromised or contains outdated elements, deleting it might be necessary to address security issues. This could include removing outdated plugins, themes, or content that poses a risk.
▪️Platform Migration or Change
Switching to a different web platform or content management system might require you to delete your WordPress site to facilitate a smooth transition.
▪️Starting Anew
Sometimes, you might want to start fresh. Deleting a WordPress site allows you to reset your digital presence, wiping the slate clean to try new themes or redefine your online identity.
How to Permanently Delete a WordPress Site
To permanently delete a WordPress site, you don’t need to uninstall WordPress. Instead, follow these steps to ensure complete removal of your site.
Step 1: Create a Backup Copy
While backing up your WordPress site isn’t strictly necessary, it’s a prudent precaution. If you ever need the deleted data in the future, having a backup will be invaluable. This ensures that even after deletion, you can recover important information if needed.
Your WordPress site stores all your posts, pages, and media files, along with custom settings, themes, and plugin configurations that may have taken hours to perfect. Without a backup, deleting the site would erase all that hard work, leaving you with nothing to show for your efforts.
Full-Site Backup
This backup captures both your WordPress files and database, making it ideal if you’re planning a complete site overhaul or switching hosting services.
Database-Only Backup
This backup preserves only your MySQL database, which includes posts, pages, and comments. It’s useful for protecting your site’s content without saving its structure or design.
A full-site backup can be performed either automatically using a backup plugin or manually via cPanel.
Automatic WordPress Backup Plugin
1. Go to your WordPress dashboard, go to Plugins, and select Add New.

2. Search for reliable backup plugins like UpdraftPlus

or
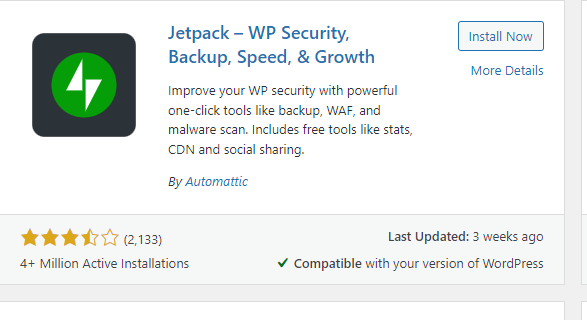
Jetpack. Install and activate the chosen plugin.
3. Open the plugin’s settings and select the WordPress files you want to back up. Choose the storage location, such as Dropbox or Google Drive.
4. Start the backup process.
Step 2: Delete WordPress site files
Deleting WordPress site files involves various methods, each requiring specific steps:
Method 1: Using WordPress Dashboard to delete the WordPress.com website
1. Deactivate All Plugins
After securing a backup of your website, the next step is to deactivate all installed plugins. Begin by going to the Plugins section of your WordPress dashboard. Here, you will see a list of all active plugins. For each plugin, click the Deactivate link. This action will disable the plugin’s functionality without removing its files, allowing you to re-enable it later if needed.
2. Delete All Themes
Once all plugins have been deactivated, proceed to remove all themes from your website. Access the Themes page via your WordPress dashboard. You will be presented with a list of installed themes. For each theme, except the active theme (which must be deactivated first), click the Delete link. This will permanently remove the theme files from your server.
3. Delete All Posts and Pages
Next, you need to clear out all content by deleting every post and page on your website. Start by going to the Posts section of your WordPress dashboard.

Select each post and click the Trash or Delete option. Repeat this process in the Pages section to remove all pages.

If your website has numerous posts or pages, consider using bulk actions to simplify the deletion process.
4. Delete All Users

Following the deletion of content, focus on removing all users with access to your site. Go to the Users section in the WordPress dashboard. For each user account, click the Delete link. Make sure to reassign any posts or content to another user if needed, before confirming the deletion of each user account.
5. Delete Your Website
With all plugins, themes, posts, pages, and users removed, you are ready to delete your website. Go to the Settings > General section in your WordPress dashboard.
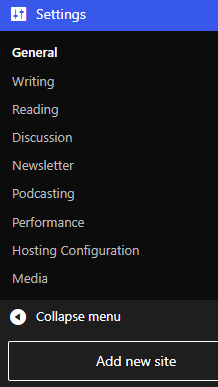
Scroll down to the Delete Website option and click the corresponding button.
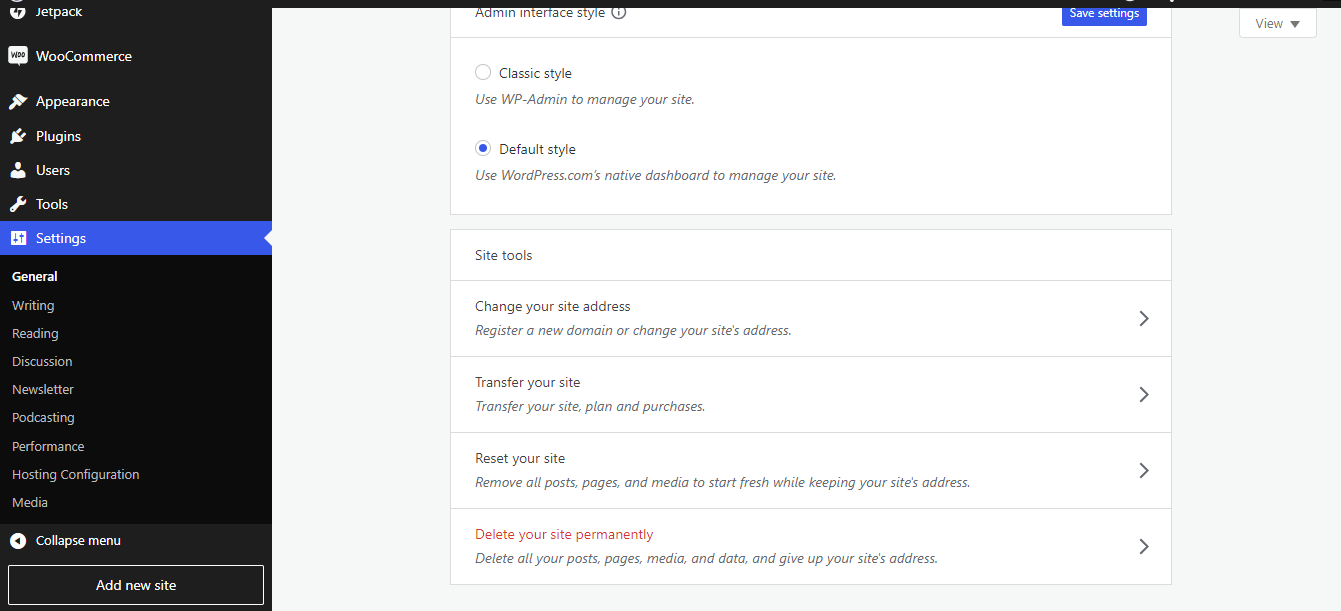
This will initiate the process of removing your entire website.
6. Confirm Deletion of Your Website
A confirmation prompt will appear once you click the Delete Website button. You will be asked to confirm your decision to permanently delete the website. Click Yes, and delete my website to finalize the deletion process.
After confirming, your website will be permanently removed, and all associated data will be deleted.
Method 2: How to Delete a WordPress.org (Self-Hosted) Website
Deleting a self-hosted WordPress website involves several steps to ensure that all content and data are removed. Follow this guide:
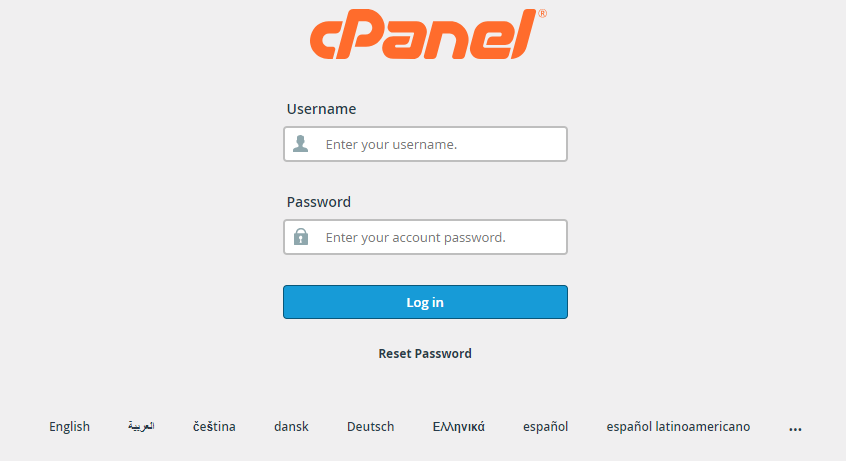
1.Log Into Your Hosting Account
Access your hosting provider’s website and log in to your account. This will typically require your username and password.
2. Access Your cPanel or Hosting Dashboard
Once logged in, go to the cPanel or the hosting dashboard provided by your host. This is where you’ll manage your website files and databases.
3. Locate the File Manager or Use an FTP Client
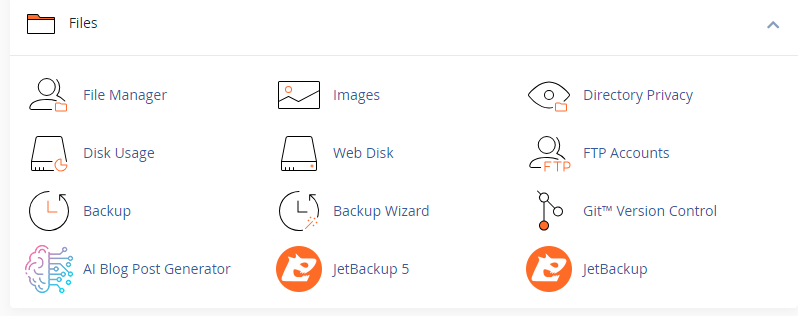
In the cPanel, find the File Manager tool, which allows you to browse and manage your website files. Alternatively, you can use an FTP client (like FileZilla) to connect to your server.
4. Delete WordPress Files
In the File Manager or FTP client:
Go to the public_html directory (or the directory where your WordPress site is installed).

Select all WordPress files and folders (like wp-admin, wp-content, and wp-includes) and delete them.
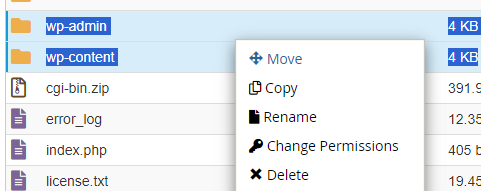
Confirm the deletion when prompted.
5. Access phpMyAdmin
Return to the cPanel dashboard and locate phpMyAdmin. This tool lets you manage databases associated with your hosting account.
6. Select and Delete the Database
In phpMyAdmin, find the database linked to your WordPress site. It usually has a name associated with your website.

Click on the database name to view its contents. You can either:
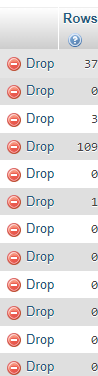
Drop All Tables: Select all tables and choose the Drop option to delete them.
Delete the Entire Database: If you want to remove the database completely, go back to the main phpMyAdmin interface, select the database, and click on the Delete option.
Step 3: How to Delete Your WordPress Site Database
The database is the core repository for your WordPress site’s content, settings, and configurations. Deleting the site files without removing the database is like erasing the text from a document while leaving the empty file on your computer.
To delete the WordPress site database, follow these steps:
1. Access Your Hosting Panel
Log in to your web hosting panel, which is typically where you access the File Manager to delete site files.
2. Access cPanel or phpMyAdmin

Once logged in, go to the cPanel or phpMyAdmin dashboard.
3. Locate the Database
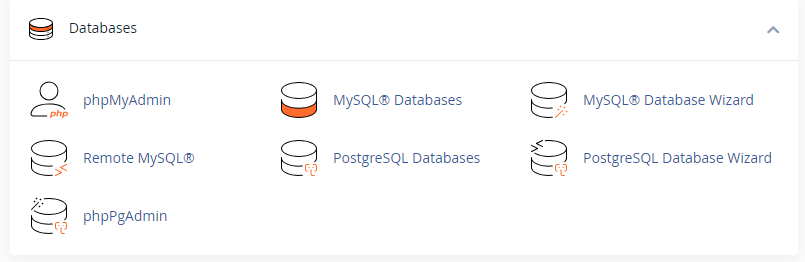
In phpMyAdmin, find the section labeled Databases.
Look for an entry like MySQL Databases and click on it.
4. Identify the Database
Locate the database associated with your WordPress site. It often starts with a prefix like wp_ followed by alphanumeric characters.
5. Delete the Database
Next to the database name, find and click on the option labeled Drop, Delete, or Delete Database.
Confirm the deletion when prompted. This action is irreversible and will remove all data associated with your site from the server.
Step 4: Delete the Domain Name and Terminate the Hosting Account
a. Sign in to Your Hosting Panel
– Access your hosting panel using your credentials.
b. Go to Account Settings or Billing
– Look for sections like Account Settings or Billing.
c. Close, Cancel, or Terminate Account
– Proceed to options like Close Account, Cancel Service, or Terminate Account.
– Follow any prompts for password verification or security questions to complete the process.
d. Delete Domain Name (Optional)
– For Domains Purchased from Host:
– In cPanel, go to Addon Domains, find the domain associated with your site, and choose the option to delete it.
– For Other Hosts:
– In your hosting panel, go to Domains and then My Domains. Click Manage next to the domain and choose to delete it.
– If the domain was purchased from another registrar, ensure it’s set up in the hosting DNS to appear in your panel.
e. Confirm Hosting Closure:
– Confirm the termination of your hosting account, ensuring all associated services are discontinued.
Step 5. Remove Your WordPress Site from Search Engines and Web Archives:
a. Remove Content from Google Search:
– Temporary Method:
– Use Google Search Console to temporarily remove the page by entering the URL under Temporary removals.
– Permanent Methods:
– Delete or update content and use a noindex tag to prevent indexing.
b. Block Google from Crawling Your Website:
– Create and Edit robots.txt File:
– In the File Manager or via FTP, create a robots.txt file and add:
“`
User-agent:
Disallow: /
“`
– Use Plugins:
– Alternatively, use plugins like AIOSEO or WPCode.
c. Notify Search Engines of Content Removal:
– Use .htaccess File:
– Create or edit the .htaccess file in your website’s root directory with the following code:
“`
RewriteEngine On
RewriteCond %{REQUEST_URI} !^/robots.txt
RewriteCond %{HTTP_HOST} ^www\.example\.com$ [NC]
RewriteRule ^(.*)$ – [L,G]
“`
– Replace `www.example.com` with your actual domain. Always back up the original .htaccess file before making changes.
– Submit Cache Removal Request:
– Request cache removal from search engines if necessary.
d. Delete Website Archives from the Internet Archive (Wayback Machine):
– Visit the Wayback Machine, enter your URL to check for archives, and contact the Internet Archive to request the removal of snapshots of your content.
Congratulations! Your WordPress website has been successfully deleted, and steps have been taken to ensure it is removed from search engines and web archives.
Pro Tips:
– Blocking access via robots.txt does not guarantee removal from all search engines.
– Removing a page from Google doesn’t automatically remove it from other search engines like Bing or Yahoo.
– Remove links to your website from social networks, Google Business profile, and email signatures.
Alternatives to Deleting Your WordPress Site
Before opting to permanently delete your WordPress site, consider these alternatives that can address various needs or concerns:
1. Make Your Site Private
Instead of deleting your site, you can set it to private. This limits access to only you or selected individuals, providing temporary privacy without permanent removal.
2. Cancel Paid Features
If you’re on a premium plan or have additional paid features, canceling these purchases will revert your site to a free version. This helps cut costs and simplifies your online presence while avoiding future charges.
3. Change Your Site’s Address
If dissatisfaction with your domain name is the issue, changing your site’s address might be a simpler solution. WordPress allows you to update your site’s address, giving it a new identity without losing existing content.
4. Reset Your Site
Instead of deleting everything, consider resetting your site. This option clears all content, settings, and configurations, allowing you to start fresh while retaining the same address.
5. Transfer to Another Account
If the reason for deletion is a change in ownership or management, transferring your site to another WordPress.com account is a viable alternative. This keeps the site’s history intact while allowing a new administrator to take over.
Conclusion
By now, you should have a clear understanding of how to delete WordPress site setups on both WordPress.org and WordPress.com. However, it’s important not to rush this process. Ensure you have thoroughly considered all your options and backed up any critical site data before proceeding. If you have any doubts, consider the alternative methods we discussed above.