If you’re looking to sell web hosting services or any digital products, knowing how to add a product in WHMCS is super important.

WHMCS stands for Web Host Manager Complete Solution, and it’s a handy tool that helps you manage your web hosting business smoothly.
When you create a product in WHMCS, you can offer different services like shared hosting, VPS (Virtual Private Server), or even software licenses that fit your customers’ needs.
In this article, I’ll walk you through the easy steps to add a product in WHMCS.
By the end, you’ll know how to set up your offerings in a way that’s both efficient and attractive.
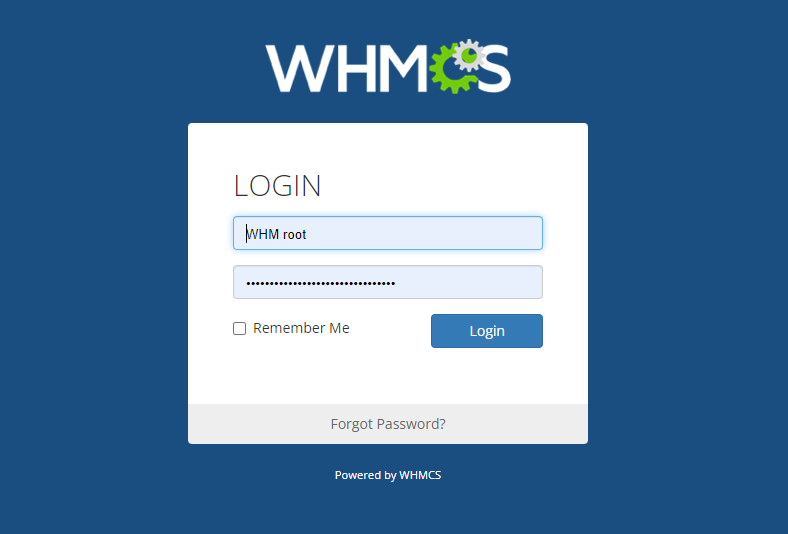
Accessing the WHMCS Admin Panel
Let’s walk through how to log into the WHMCS Admin Panel and get you familiar with the interface where you can manage everything.
Step-by-Step Guide to Log Into the WHMCS Admin Panel
Navigate to the Admin URL: First, open your web browser and type in the URL for your WHMCS admin area.
It usually looks like this: example.com/whmcs/admin.
Just replace example.com with your own domain name.
If you customized the installation, use that specific path.
Enter Your Credentials: On the login page, enter your admin username and password.
If you’re logging in for the first time, use the credentials you set up when you installed WHMCS.
Click Login: Once you’ve entered your info, click the Login button to access the admin dashboard.
If you run into any problems, try resetting your password or check if your IP is banned due to too many failed attempts.
Overview of the Admin Interface
After logging in, you’ll see the Admin Dashboard, which is your main hub for managing WHMCS. Here’s what you’ll find:
Top Navigation Bar: This bar gives you access to all the important features and settings in WHMCS.
You can create new items, search for clients or services, and navigate through menus related to orders, clients, and configurations.
Sidebar Navigation: The sidebar shows links that are relevant to the section you’re currently in.
For example, when you’re looking at product management, it will display links related to products and services.
Product Management Options: To manage your products, hover over the wrench icon in the top right corner and select System Settings from the dropdown.
Then, click on Products/Services to go to the page where you can create and manage your products.
Navigating to Product Setup Made Easy!
It’s pretty simple, and knowing where to go will help you manage everything smoothly for yourself and your customers.
How to Find the “Setup” Menu in WHMCS
Log into the Admin Panel: First, log in to your WHMCS admin panel with your username and password.
Find the Setup Menu: After you log in, look for the wrench icon in the top right corner of the dashboard.
When you hover over it, a dropdown menu will appear.
Select System Settings: Click on System Settings from the dropdown.
This will take you to a page with all the options you need for configuring your WHMCS.
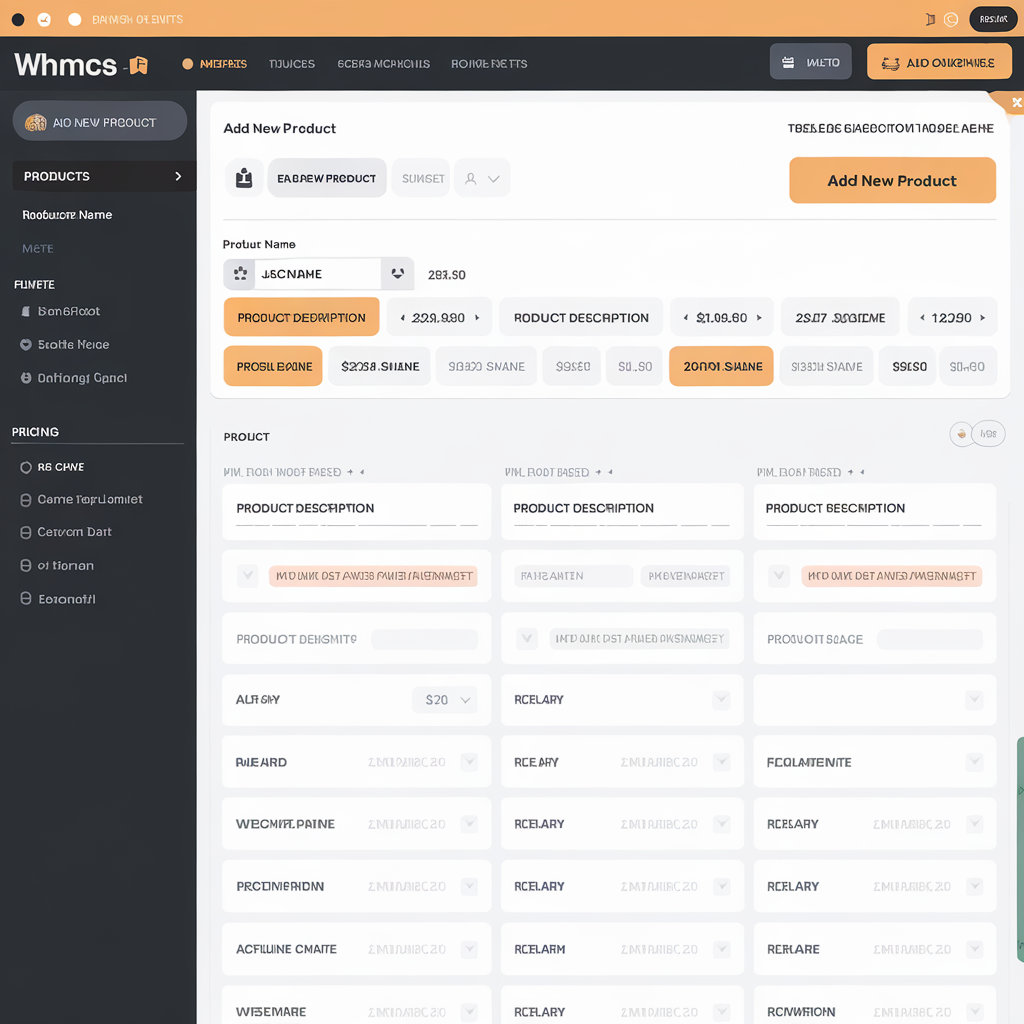
Overview of the “Products/Services” Section
In the System Settings, you’ll see the Products/Services option.
Click on it to get to a special area for managing your products.
Create New Product: Here, you can create new products or groups, set their prices, and adjust settings for how they are sold and billed.
Existing Products List: You’ll also find a list of your current products, which you can edit or delete whenever needed.
Explanation of Different Tabs
The Products/Services section has several helpful tabs to keep everything organized:
Products Tab: This is where you can see all your existing products.
You can create new ones, edit the details, or delete any that you don’t need anymore.
You can also customize each product with descriptions, pricing, and related services.
Bundles Tab: Use this tab to create bundles—groups of products sold together at a discount.
Bundles can boost sales by encouraging customers to buy more at once.
Configurations Tab: This is where you set up configurations for your products, like module settings and advanced options.
It’s important for determining how each product works with your hosting control panel and other systems.
Creating a New Product Made Easy!
Ready to create a new product in WHMCS?
It’s a straightforward process that involves picking the product type, entering some key details, and adjusting settings to fit what your customers want.
Let’s walk through it step by step!
Step 1: Choosing the Product Type
First, you need to decide what type of product you want to create.
WHMCS gives you a few choices, each for different services:
Shared Hosting: Great for individuals or small businesses needing budget-friendly hosting.
This is perfect for basic web hosting with limited resources.
VPS (Virtual Private Server): Pick this if you want to offer dedicated resources on a virtual server.
It’s ideal for users who need more control and performance than shared hosting.
Dedicated Server: Choose this for larger businesses or apps that require high performance and security.
Dedicated servers give complete control over server resources.
Reseller Hosting: This is perfect for clients who want to sell hosting services under their brand.
They can create unique hosting packages for their customers.
Other Products: If you’re selling software licenses, domain registrations, or other non-hosting products, pick the right category for what you offer.
Step 2: Filling in Product Details
Once you’ve selected the product type, it’s time to enter the important details:
Product Name: Come up with a clear name that describes the service, like “Basic Shared Hosting” or “Premium VPS.”
Description: Write an engaging description that explains what the product does and what makes it special. Let customers know why they should choose it.
Pricing: Set a price for your product. You can offer different pricing tiers based on features or resources to stay competitive in the market.
Billing Cycle Options: Decide how customers can pay—monthly, quarterly, yearly, etc. Offering various options can attract more customers.
Step 3: Configuring Settings
Now that you have the product details, let’s set up some additional settings:
Product Group Selection: Either assign your new product to an existing group or create a new one.
This helps organize similar products, making it easier for customers to find what they need.
Module Settings: If necessary, choose the right module settings based on the product type.
For a VPS product, you may need to adjust virtualization settings according to your server management software (like SolusVM or Proxmox).
Other Options:
Configurable Options: If customers can adjust features (like disk space or bandwidth), set up these options for them to customize their purchase.
Stock Control: If you’re selling physical products, turn on stock control to keep track of inventory levels effectively.
Configuring Product Features
After creating a new product in WHMCS, it’s time to make it even better by setting up its features.
Overview of Configurable Options
Configurable options give your customers the power to choose features that meet their needs.
Here are some common options you can offer:
Disk Space: You can set different levels of disk space so customers can pick a plan that matches their storage needs, from basic to advanced.
Bandwidth: Just like disk space, you can offer various bandwidth limits.
This helps customers choose a plan that fits their expected traffic without overspending.
Additional Features: You might also include extras like email accounts, databases, or SSL certificates.
Offering these options lets you cater to different customer preferences.
Setting Up Promotions and Discounts
To attract more customers and boost sales, think about adding promotions and discounts for your products.
WHMCS makes it easy to create different discount options:
Create Discount Rules: Use the Discount Center module to set rules for discounts based on things like product combinations or how many items someone orders.
You can also specify how long the discounts last and who can use them.
Types of Discounts: You can offer percentage discounts or fixed dollar amounts off the product price.
This gives you the flexibility to create attractive deals that appeal to new customers or reward your loyal ones.
Thresholds for Discounts: Set up different discount levels based on how many products are bought or the total order amount.
This encourages customers to buy more to save more.
Enabling Add-Ons or Extras for the Product
You can also enhance your product by enabling add-ons or extras that customers can choose when they buy:
Navigate to Product Addons: In the WHMCS admin panel, go to Setup > Products/Services and select Product Addons.
Create New Addon: Click on the Add New Addon button.
Here, you can set the price and link it to specific products.
Customization Options: Decide what features the addon will have, such as extra storage space, better support, or premium features that go well with the main product.
Save Changes: After setting everything up, save your changes.
Customers will now see these add-ons when they purchase the main product.
Setting Up Payment and Billing Options Made Easy!
Getting this right is super important for making sure your customers have a smooth experience when they pay.
In this section, I’ll walk you through how to set prices for different billing cycles, set up recurring payments, and understand invoice settings.
Configuring Pricing for Different Billing Cycles
When you create a product in WHMCS, you can choose different pricing options based on how often your customers want to pay.
Here’s a quick guide:
Access Product Settings: Go to the Products/Services section in your WHMCS admin panel and pick the product you want to set up.
Billing Cycle Options: In the product settings, you can set prices for billing cycles like monthly, quarterly, semi-annually, or annually.
Just enter the price and any setup fees for each cycle.
Enable Billing Frequencies: Check the box for each billing frequency you want to offer.
This lets your customers pick their favorite payment schedule at checkout
Save Changes: Don’t forget to save your changes after setting everything up!
Setting Up Recurring Payments
To make billing easier for your customers, you can set up recurring payments in WHMCS. Here’s how:
Recurring Payment Configuration: In the product settings, make sure the recurring payment option is turned on.
This lets WHMCS create invoices automatically based on the billing cycle.
Invoice Generation Timing: You can decide when invoices get created by going to Configuration > System Settings > Automation Settings.
Here, you can set how many days before the due date invoices should be made (like 14 days in advance).
Payment Reminder Emails: If you want, you can turn on reminder emails to let customers know about upcoming payments.
You can choose how many days before the due date to send these reminders.
Explanation of Invoice Settings
Getting your invoice settings right helps manage customer payments smoothly:
Access Invoice Settings: Go to Configuration > System Settings > General Settings and click on the Invoices tab.
Continuous Invoice Generation: If you want WHMCS to automatically create invoices for each billing cycle (even if previous ones are unpaid), turn this option on.
PDF Delivery Options: You can choose to send PDF versions of invoices in the invoice emails.
This makes it easy for customers to keep their records.
Late Fees Configuration: Set up late fees by deciding how much to charge (either a percentage or a fixed amount).
This encourages customers to pay on time.
Mass Payment Option: By enabling mass payment, customers can pay multiple invoices at once.
This makes things easier for them and can lower transaction fees.
Custom Invoice Numbering: You can also customize how your invoices are numbered.
This keeps your invoicing system looking professional.
Conclusion
So, to wrap things up, knowing how to add products in WHMCS is super important for running your web hosting business smoothly.
When you add and set up your products correctly, you make it easier for customers to find what they need and enjoy a better shopping experience.
A clear product list helps them make smart choices and makes the buying process hassle-free.
As you dive deeper into WHMCS, don’t forget to check out its other cool features.
There’s a lot you can do, like automating billing, managing support tickets, and using marketing tools—all designed to make your business run better.
Happy hosting!