
Purpose #
This guide explains how to use the managed Truehost Cloud VPN powered by WireGuard vpn.
It covers:
- First-time login and service activation
- Enabling WireGuard interface (wg0)
- Creating VPN clients
- Downloading configurations
- Managing VPN connectivity
- System tools and diagnostics
- Troubleshooting
First Login #
After provisioning, you will receive:
- Dashboard URL
- Username
- Password
Prerequisites
Install WireGuard on client devices/endpoints:
https://www.wireguard.com/install
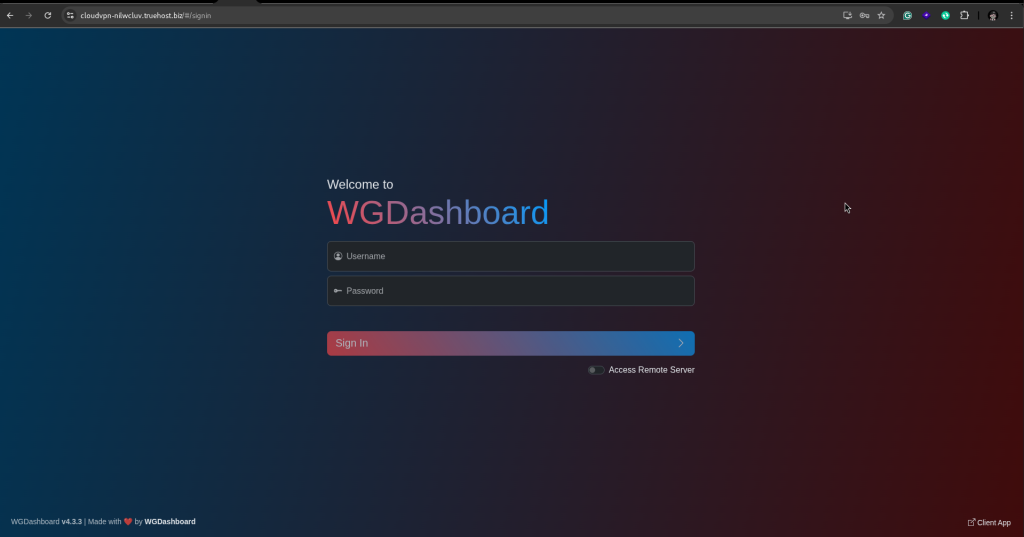
Step 1: Login #
Open your dashboard URL:
https://your-instance.truehost.biz
Log in using the provided credentials.
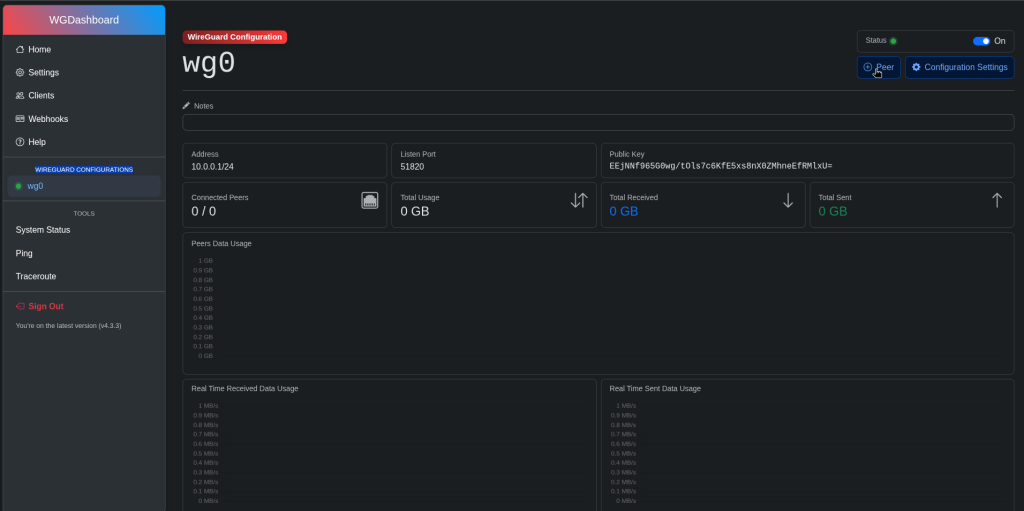
Step 2: Critical First Action — Enable VPN Interface (wg0) #
After login, the VPN is NOT active by default.
You must manually start the WireGuard interface.
Navigate to:
WireGuard Configurations → wg0
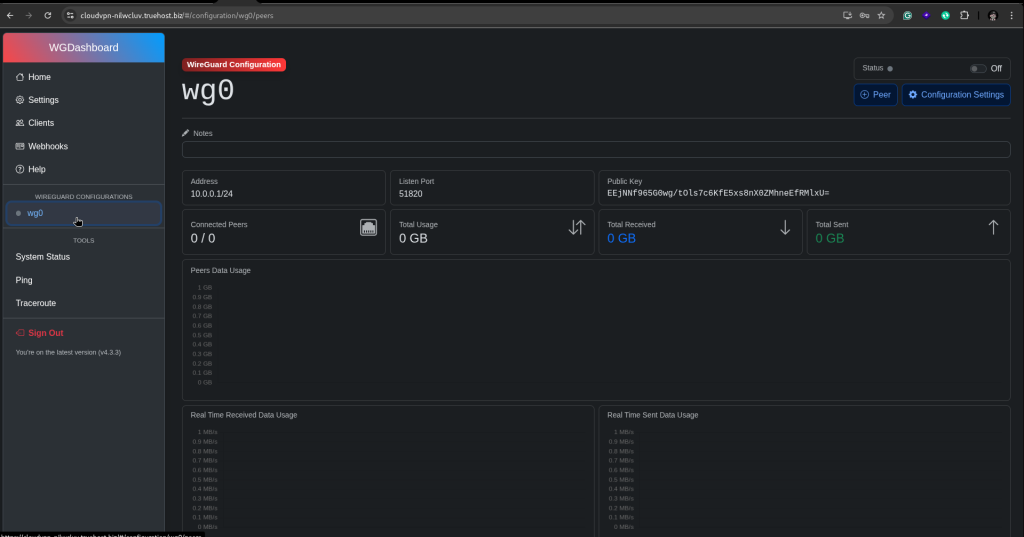
Step 3: Start wg0 #
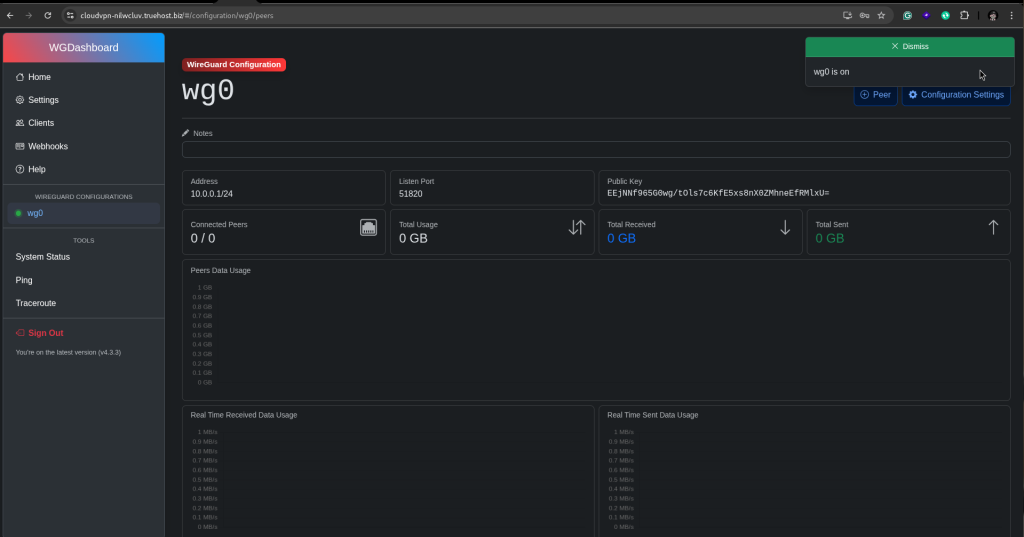
On the top right of the dashboard, toggle the status button to activate the interface:
Start
Wait for status to change to:
On / Active
A popup message will appear on success or failure.
WARNING #
If wg0 is not started, then:
- VPN clients will NOT connect
- No traffic will pass through the VPN
- QR codes/configs will not function correctly
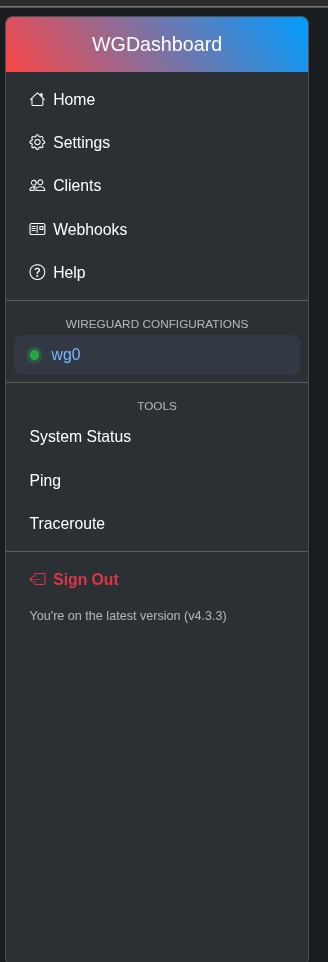
Dashboard Navigation Overview #
The dashboard includes the following sections:
| Section | Function |
|---|---|
| Home | System overview |
| Settings | System and VPN configuration |
| Clients | Manage VPN users (i.e., users signed up via the client sign up page) |
| Webhooks | Event automation |
| Help | Documentation and version info |
| WireGuard Configurations | VPN tunnel control |
| Tools | Network diagnostics |
| System Status | Server health monitoring |
| Sign Out | Exit dashboard |
Creating VPN configurations for clients (Peers) #
All VPN devices are created under:
WireGuard Configurations >> Interface #
In this case, we will be using:
WireGuard Configurations >> wg0
Step 1: Open WireGuard Configurations >> wg0 #
Click on the +Peer button on the top right:
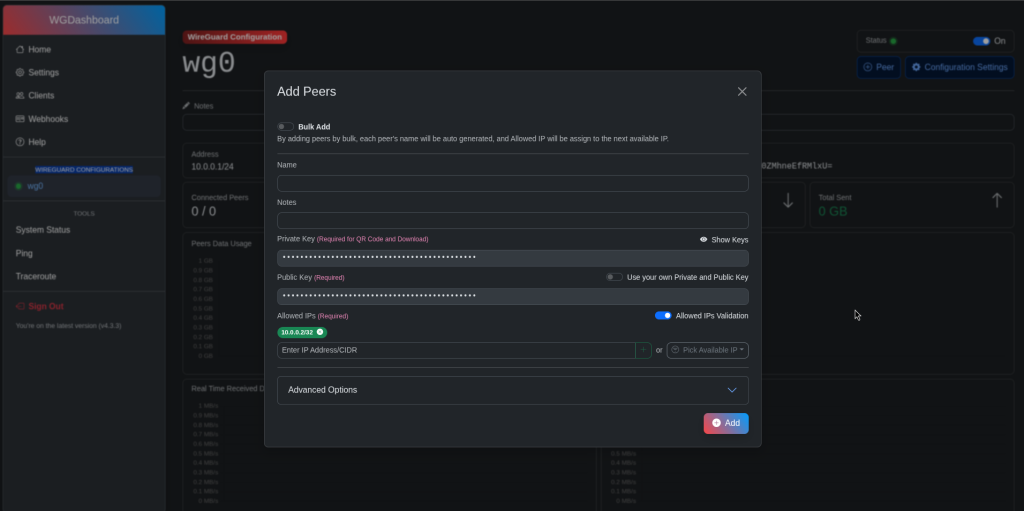
Step 2: Configure peer #
Fill in:
Required Fields #
- Client Name
Example:John-Laptop,Office-PC,Android-Phone
Optional Fields #
Leaving the other fields at their defaults is safe; you can, however, modify the settings as you wish, provided you are familiar with the troubleshooting process.
The system automatically generates: #
QR code (mobile use)
WireGuard private/public keys
Client configuration file
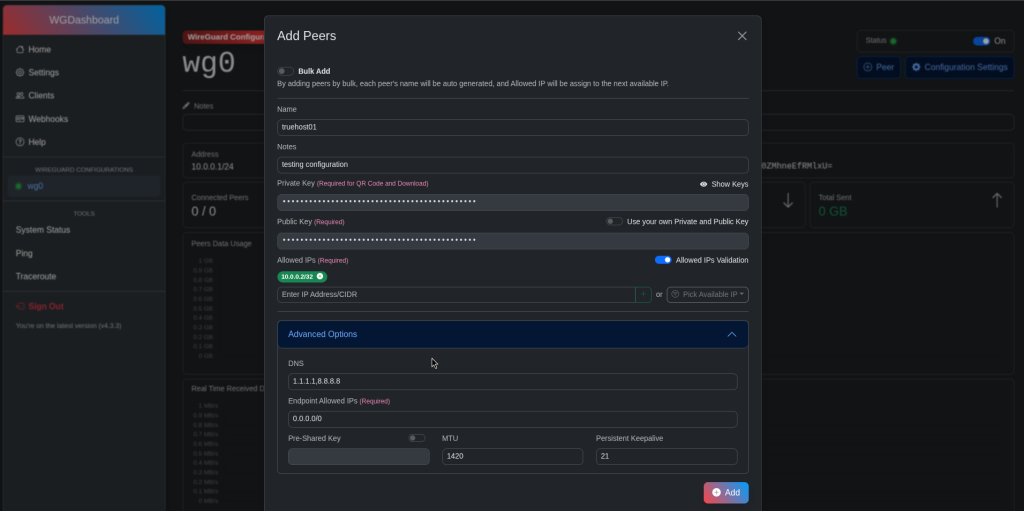
Step 3: Save Peer #
Click:
Add
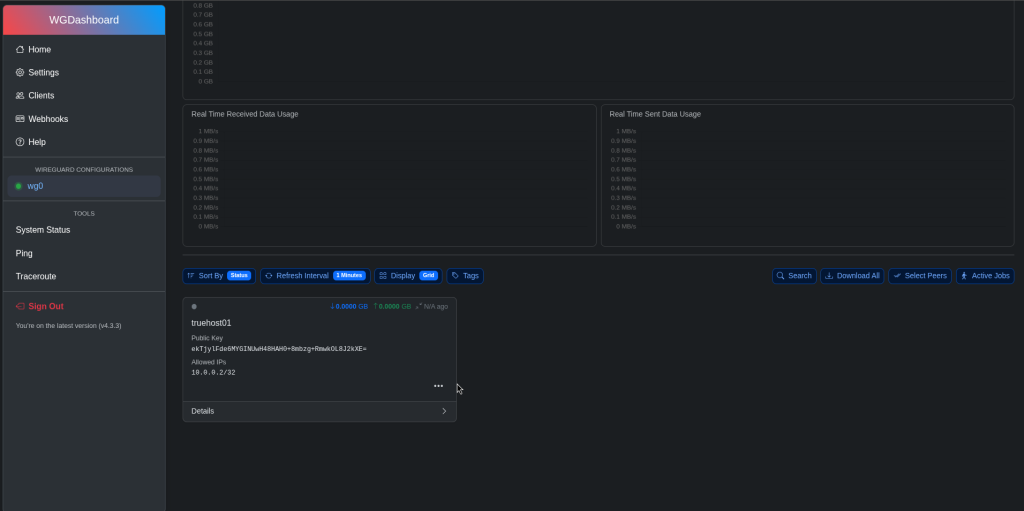
Downloading VPN Configuration #
After creating a peer, you must install the configuration on the device.
Option 1: Configuration File (.conf) #
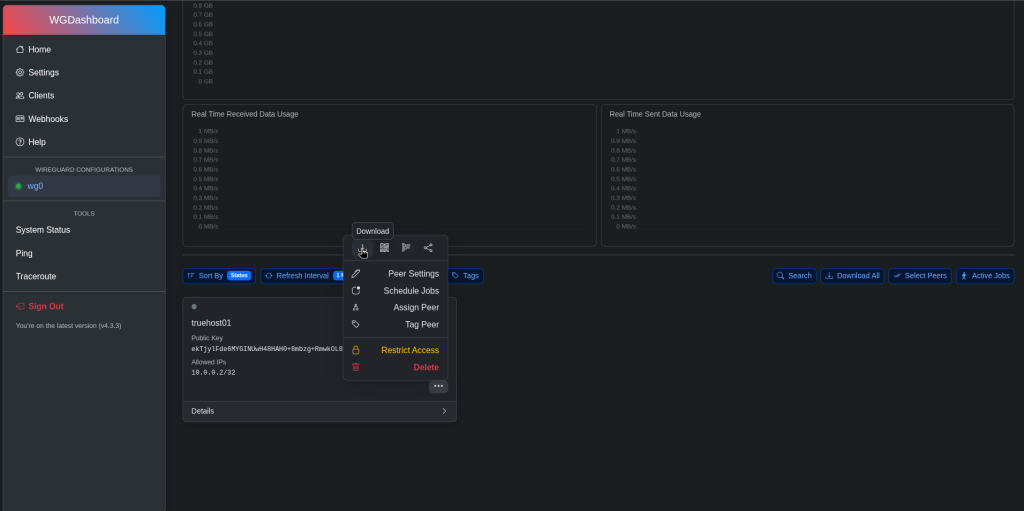
On the created peer, click on the 3 dots (…) and then download the configuration file:
Download Config
Configuration is compatible with the below clients:
- Windows
- Linux
- macOS
- Servers
Option 2: QR Code (Mobile Devices) #
Click:
Show QR Code

Scan using the clients below:
- WireGuard (Android)
- WireGuard (iOS)
Managing WireGuard Interface (wg0) #
Navigate to:
WireGuard Configurations → wg0
This is the core VPN tunnel.
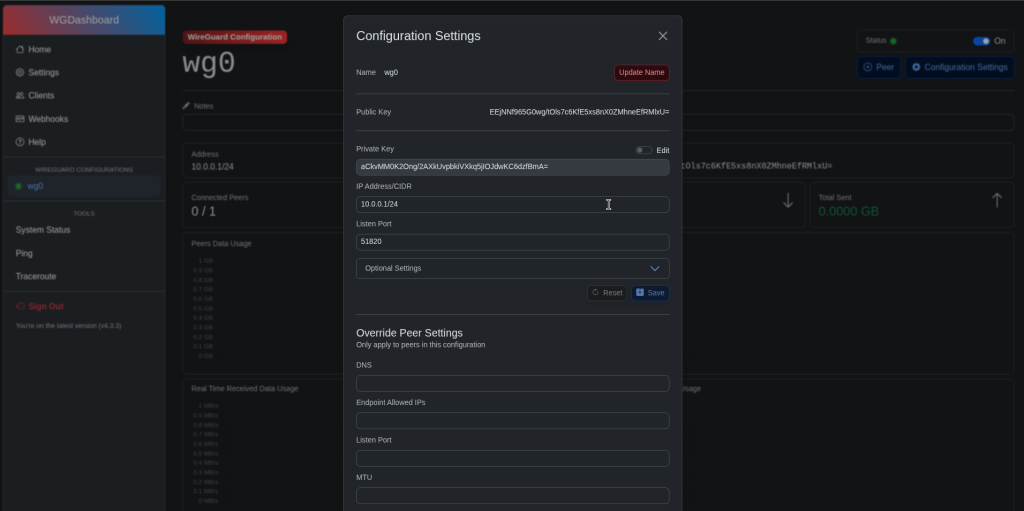
You can adjust the configurations using the “Configuration Settings” button.
Stop VPN #
Toggle the status button to off:
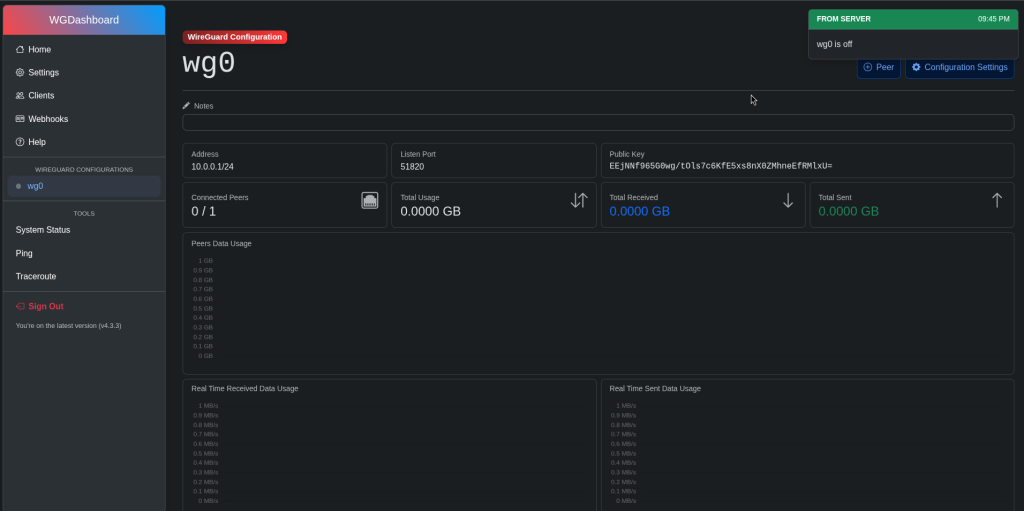
WARNING #
Stopping wg0 will:
- Disconnect ALL users
- Stop all VPN traffic
- Make VPN clients unusable until restarted
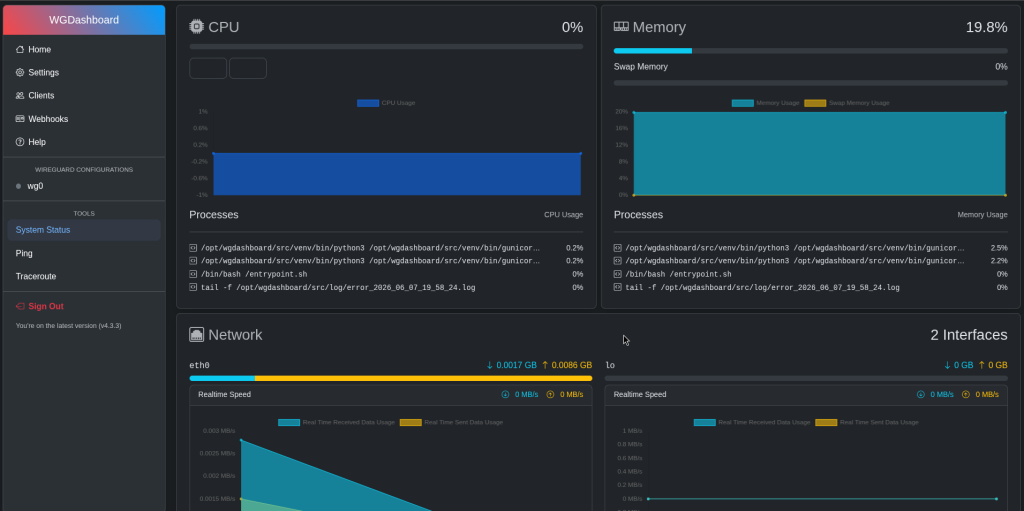
System Status #
Navigate to:
System Status
Used for monitoring server health.
You can view:
- CPU usage
- RAM usage
- Disk usage
- Service uptime
- WireGuard status
Network Diagnostic Tools #
Navigate to:
Tools
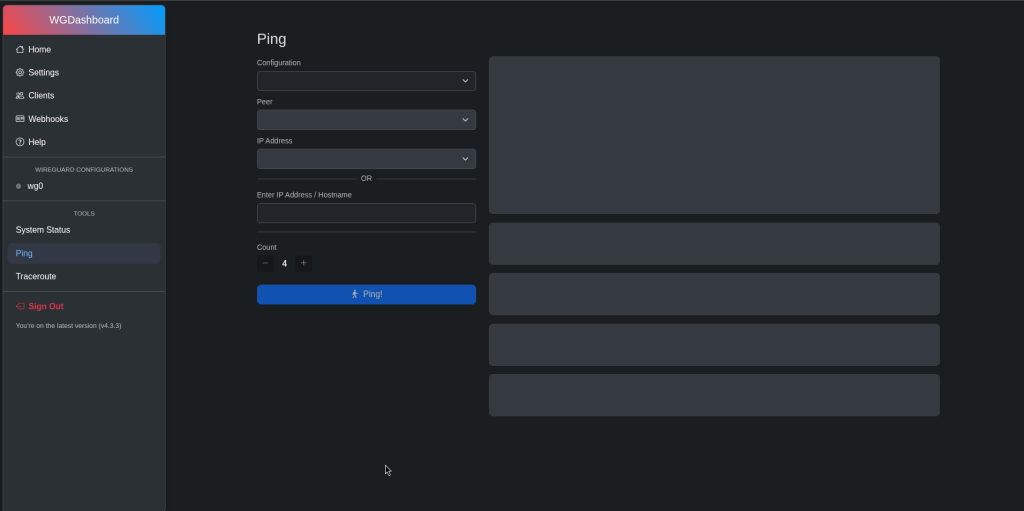
Ping Tool #
Used to test connectivity to a host.
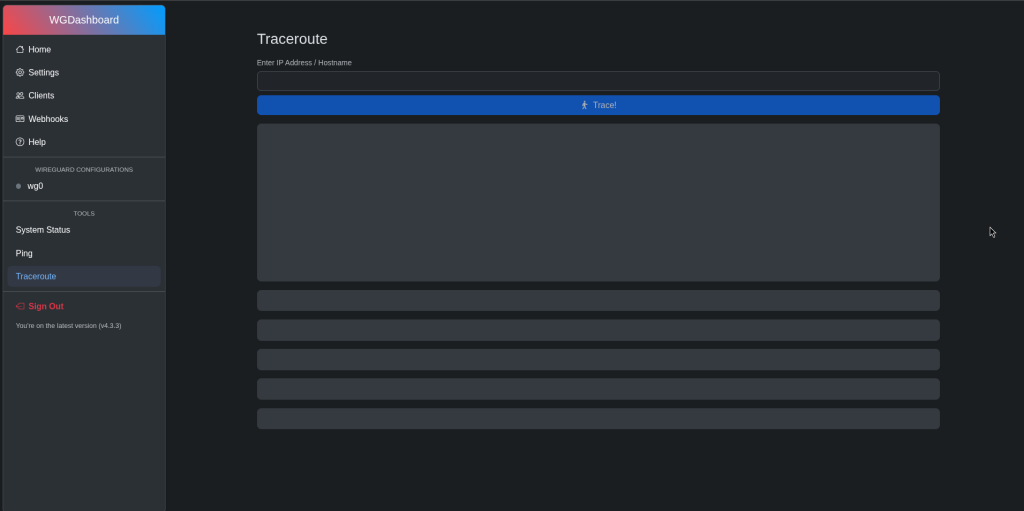
Traceroute Tool #
Used to trace network routing paths.
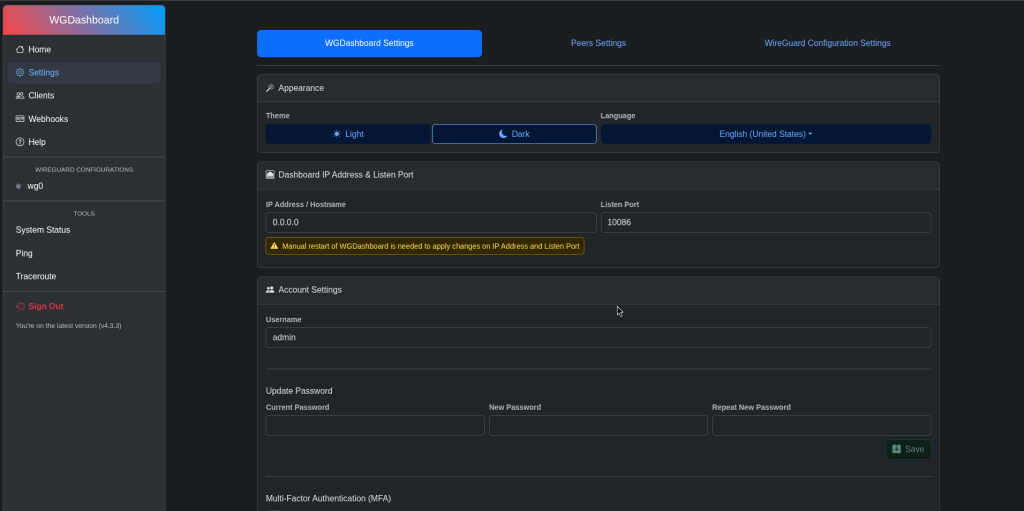
Settings #
Navigate to:
Settings
Used to configure:
- VPN network settings
- DNS behavior
- Interface options
- Security settings
- Authentication settings (including optional 2FA)
Webhooks #
Navigate to:
Webhooks
Used for automation and integrations.
Typical use cases:
- Client creation notifications
- Billing system integration
- Security alerts
- External logging systems

Mapping peer configuration to registered clients #
By default, client signup is enabled, and users can sign up by visiting https://<vpn-instance>/client
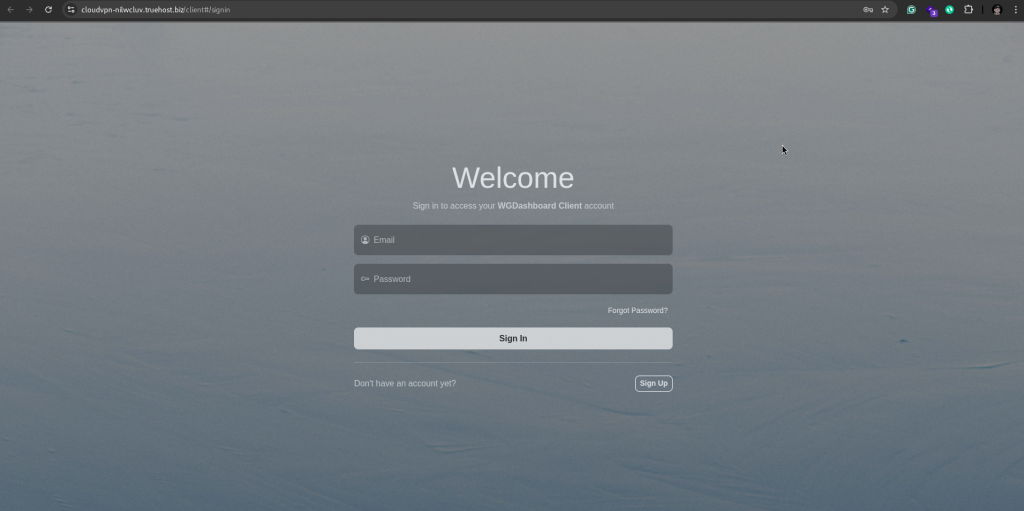
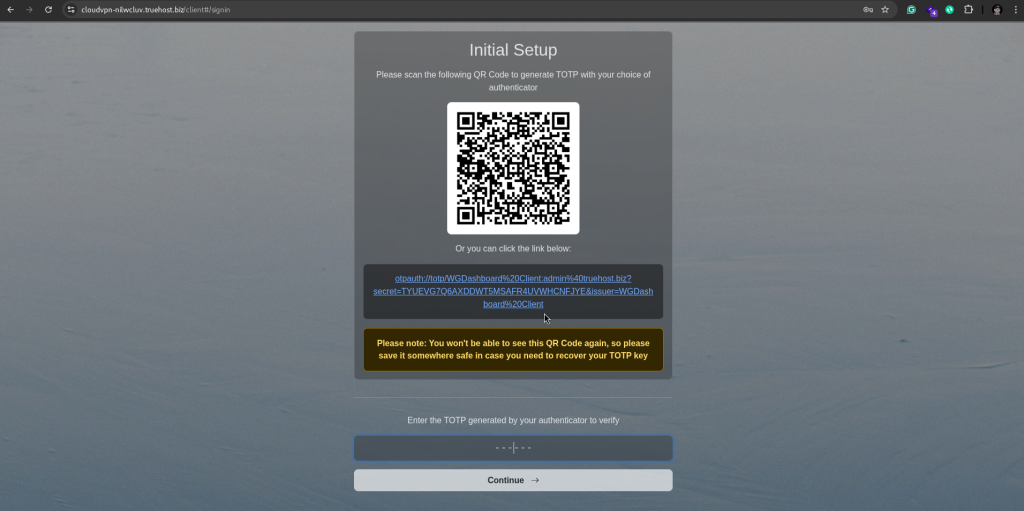
For security purposes, clients are required to have OTP enabled, and setup is required on first signup:
Once a client is registered, you can assign them a peer from the admin area by navigating to:
Clients >> Click on the client >> Click “Manage” >> Click “+” on the respective peer configuration
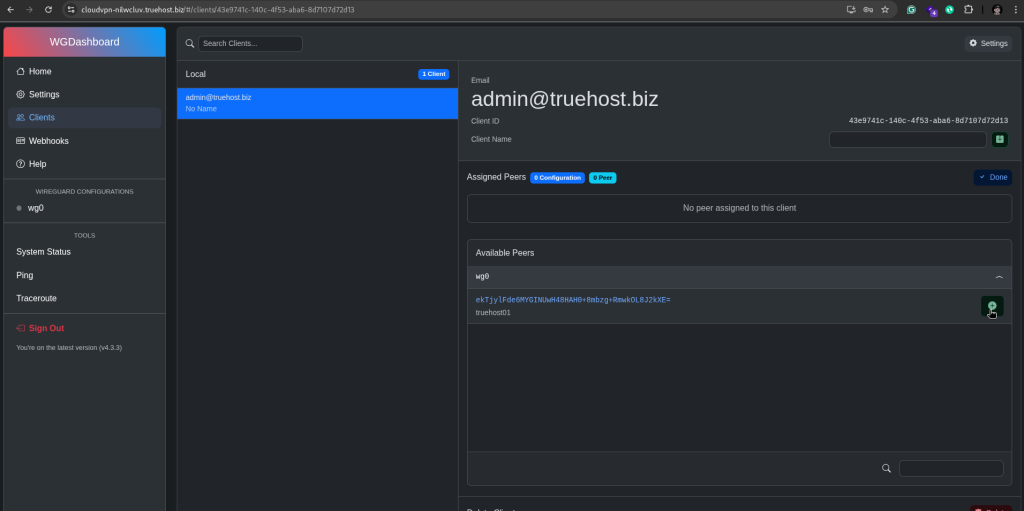
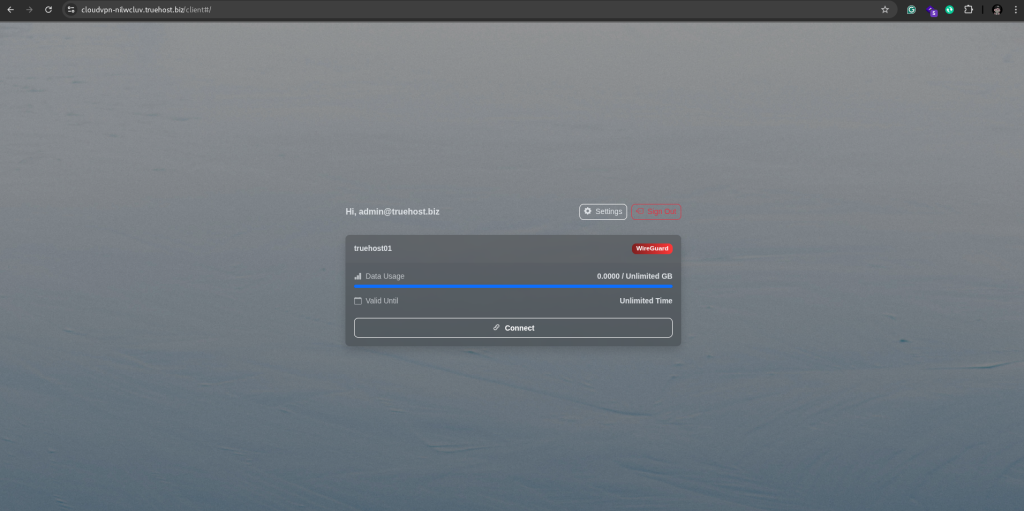
The client will now be able to view and download the configurations granted access to from the client side:
Signing Out #
Click:
Sign Out
Always sign out when using shared or public devices.
Troubleshooting #
VPN Not Working After Setup #
Check:
- wg0 interface is running
- Device has internet access
- Firewall allows UDP traffic (WireGuard port)
Clients Cannot Connect #
Check:
- wg0 is active
- Client is correctly created
- The configuration file is not reused
- Endpoint IP/hostname is correct
No Internet Over VPN #
Check:
- DNS settings in client config
- Allowed IPs configuration
- NAT rules on server
Dashboard Not Loading #
Check:
- Correct URL
- Server is running
- Firewall/security group rules
Lost Access to VPN #
If VPN stops working completely:
- Check WireGuard Configurations → wg0
- Restart wg0
- Regenerate client config if necessary
Support #
For assistance:
Include:
- VPN URL
- Username
- Temporary password via https://pass.cloudoon.com/
- Issue description
- Screenshots (if possible)


