Reseller accounts in WHM allow you to grant users the ability to host and manage their own clients under your cPanel/WHM server.
You can either convert an existing ordinary cpanel account to a reseller or create an account and give it reseller privillages
This guide explains the process of creating and managing reseller accounts effectively.
Prerequisites #
- Access to WHM with root or sudo reseller privileges.
- You will need to have created packages on the server
Step by Step on how Create And Manage a Reseller Accounts in WHM #
- Log in to WHM either with the root or sudo reseller account. Normally you will use one of the URLs below;
http://your_server_ip:2087

https://your_server_hostname:2087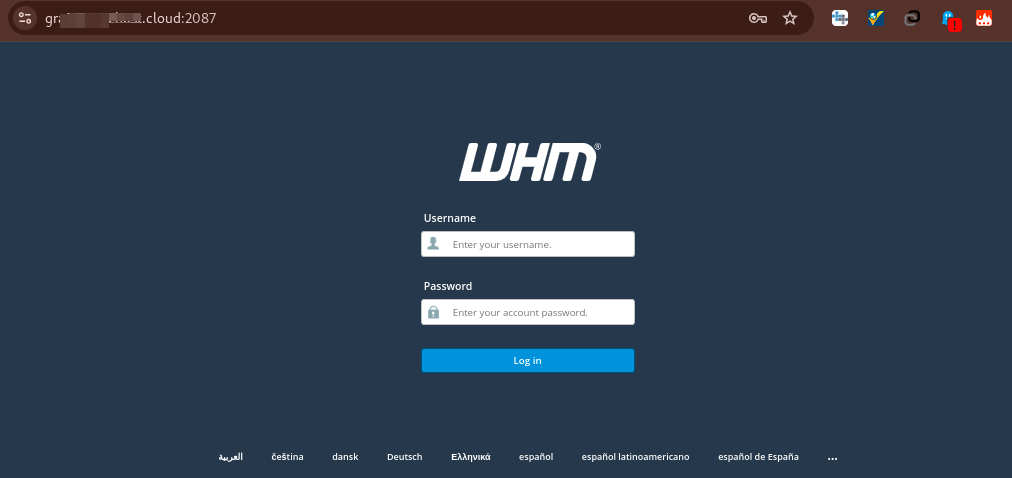
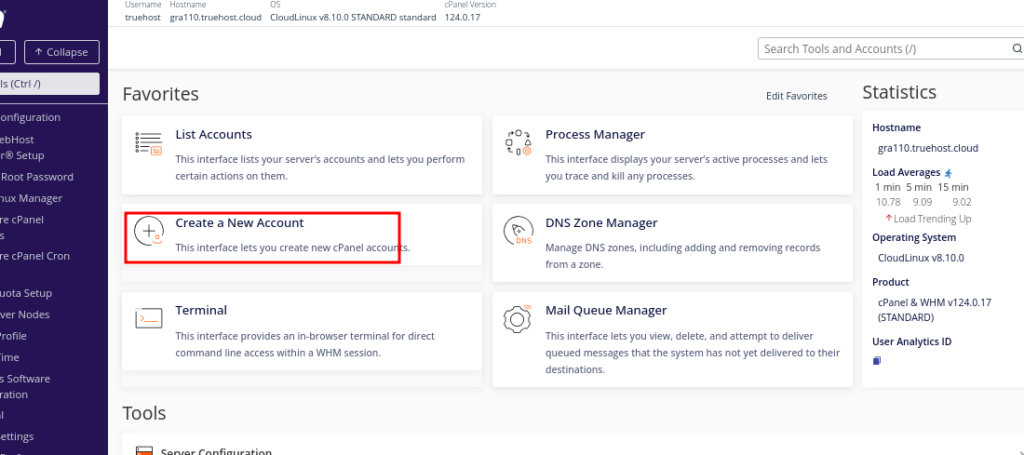
- Once logged in, navigate to Create a New Account section (WHM / Home / Account Functions / Create a New Account).
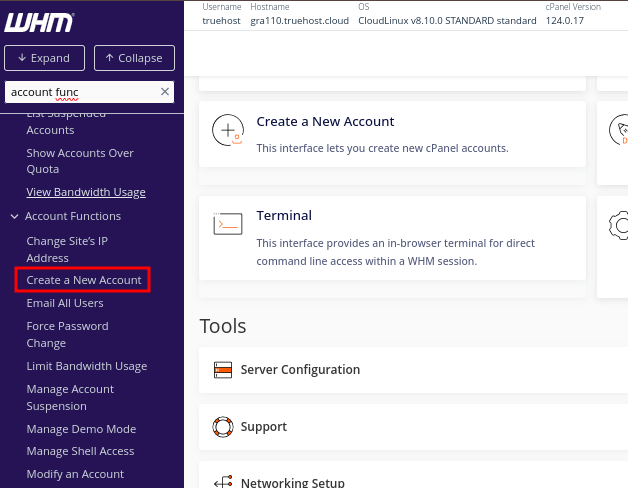
- You might also see the option in the Favorite section on the WHM Home page
- Once you have clicked don Create New Account, you will see a form that needs you to input the new account details. Input them as you desire.
- Remember to input a strong password, then save it for cpanel access. Take note of the account username too for that will be your cpanel username.
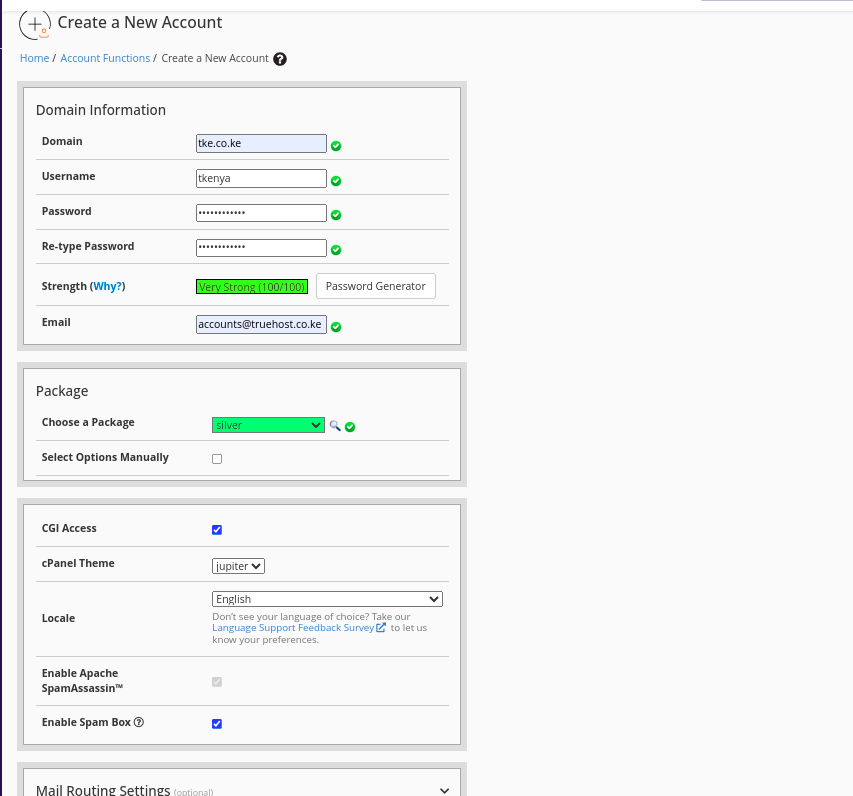
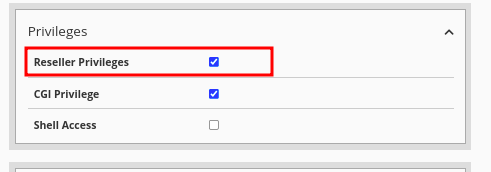
- As you input the details, make the account to be a reseller by checking the Reseller Privileges box.
- Once you have filled in the needed details, and checked the box, click on Create.
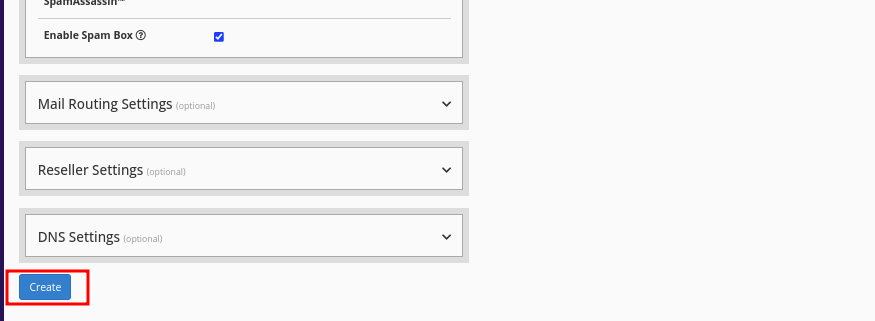
- The account will be created as a reseller and will be visible under WHM / Home / Account Functions / List Accounts

- Next thing is to give the reseller account relevant privileges to enable it function in that perspective.
- Your account is now a reseller. You now need to give it relevant privileges
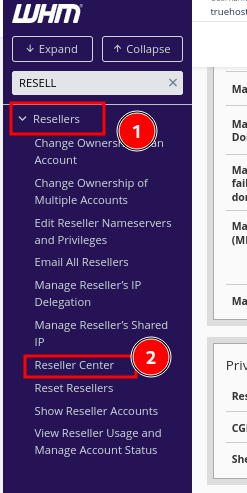
- Navigate to WHM-> Resellers->Reseller Center
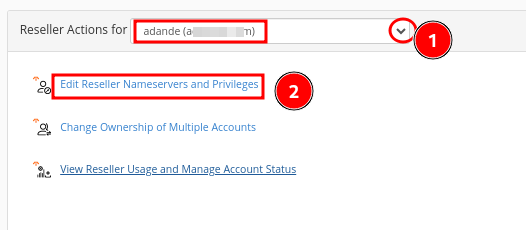
- Locate the option called Reseller Actions for and select the newly converted reseller account from the drop-down. Note that only accounts with reseller privileges will appear here so if you do not see your account, go back and assign it reseller privileges as guided above.
- Then click Edit Reseller Nameservers and Privileges
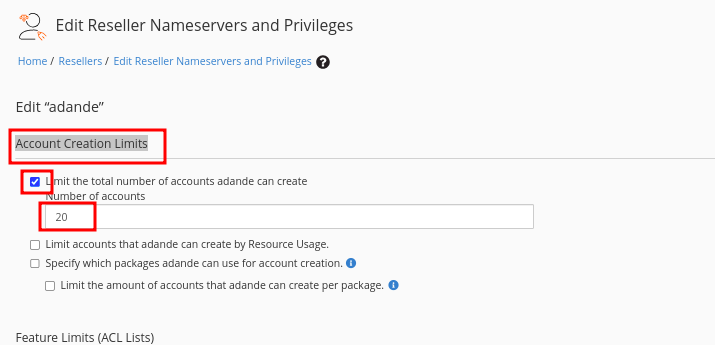
- Under this section, select the number of cpanel accounts that you want the reseller to create. You can do it under Account Creation Limits
- Below that section, you will see various privillage categories that you can assign to the reseller. Carefully check them and assign relevant ones,
- As you do that, be keen not to give the reseller too much privileges that will allow them to do key changes on the server, unless you want to do that.
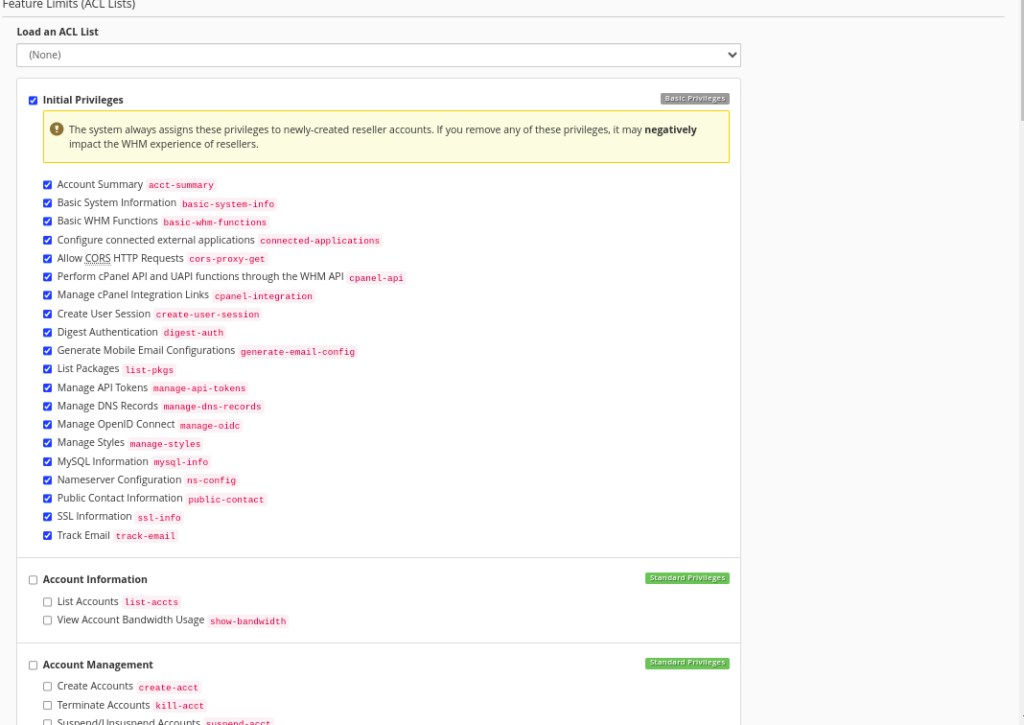
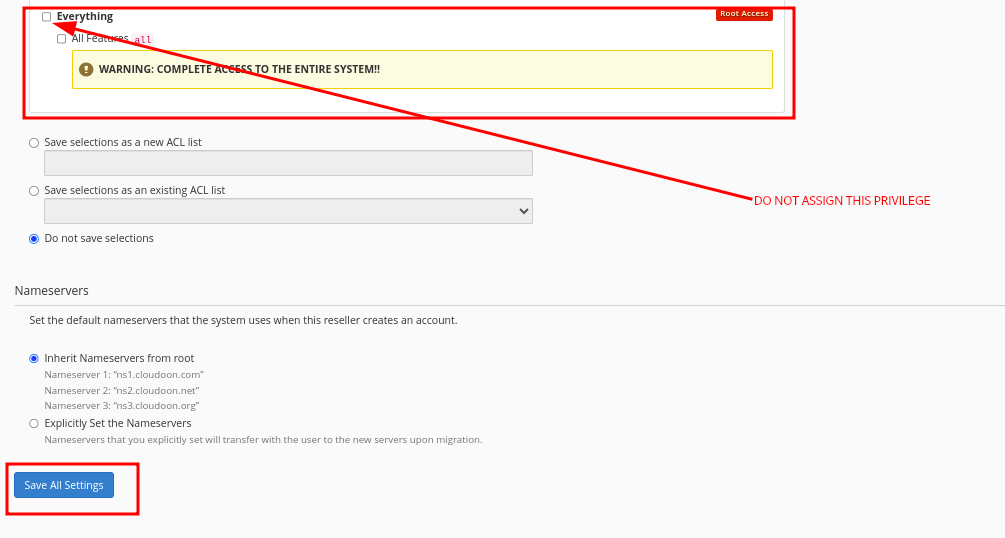
- There is a whole list of privileges. Assign as you desire, then scroll down and click ion Save All Changes
- DO NOT click on the Everything checkbox, or you will be giving the reseller same privileges a the root user
- Your resellet is now full set up, and you can access its WHM using these URLs. The username will be the cPanel user name for that account and the password will be it’s cpanel password
http://your_server_ip:2087

https://your_server_hostname:2087

https://your_domain_name:2087- Note that to access the WHM, use the above URLs with port 2087, as said above and to access cpanel, use the same URLs and credentials but with port 2083
Cheers, that will be all!