- How to generate CSR
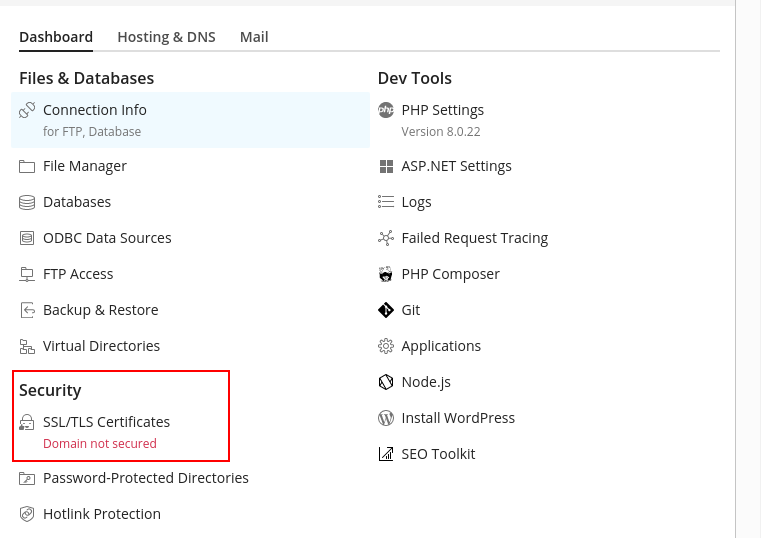
Login to the dashboard of your Plesk panel. Click on dashboard beside the domain you wish to install the SSL certificate; under security click on SSL/TLS certificates

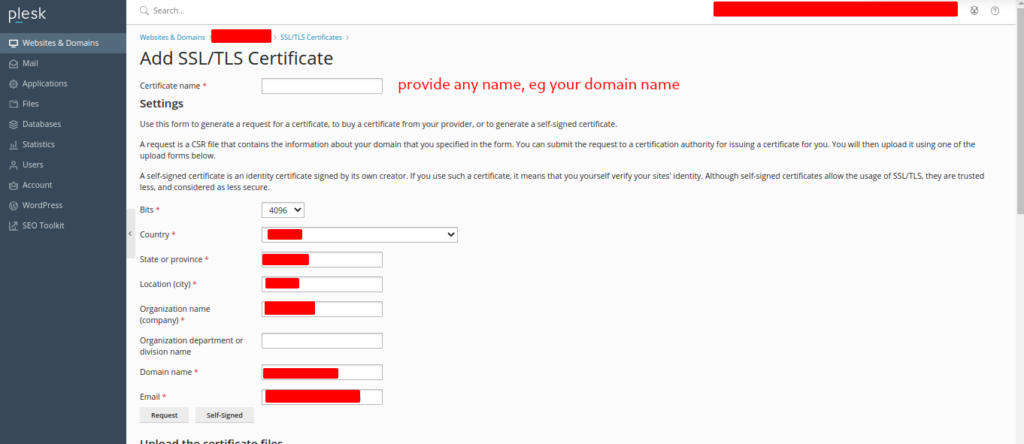
Fill in the required details below.
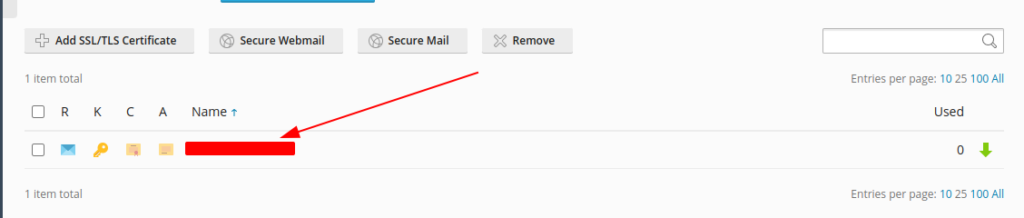
After generating the CSR, click on the name of the newly created record.
2. Generating SSL Certificate
Login to your client area, and navigate to services. Click on the SSL of your domain name >> Configure Now
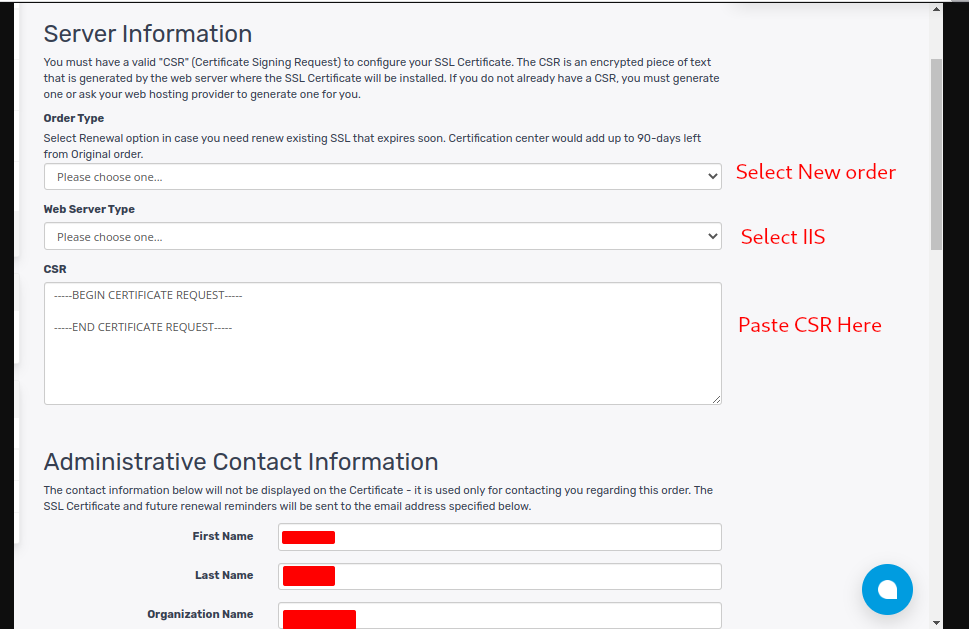
Fill in the server information, and all required Administrative Contact Information and <Click To Continue>
Select your preferred validation method. In this case, select email as the validation method and set admin@yourdomain as the email. Ensure you have created the email on your Plesk account first beforehand.
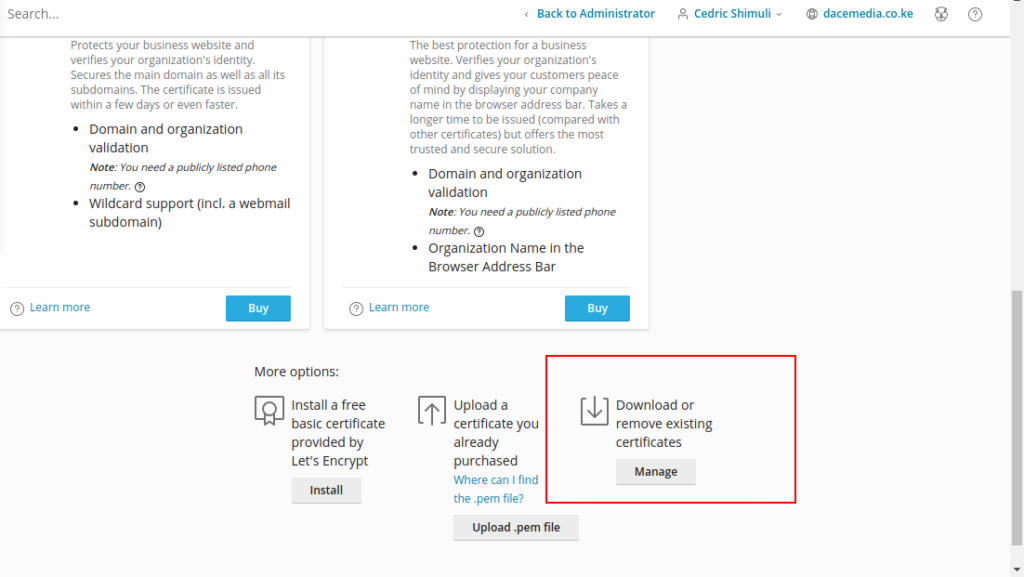
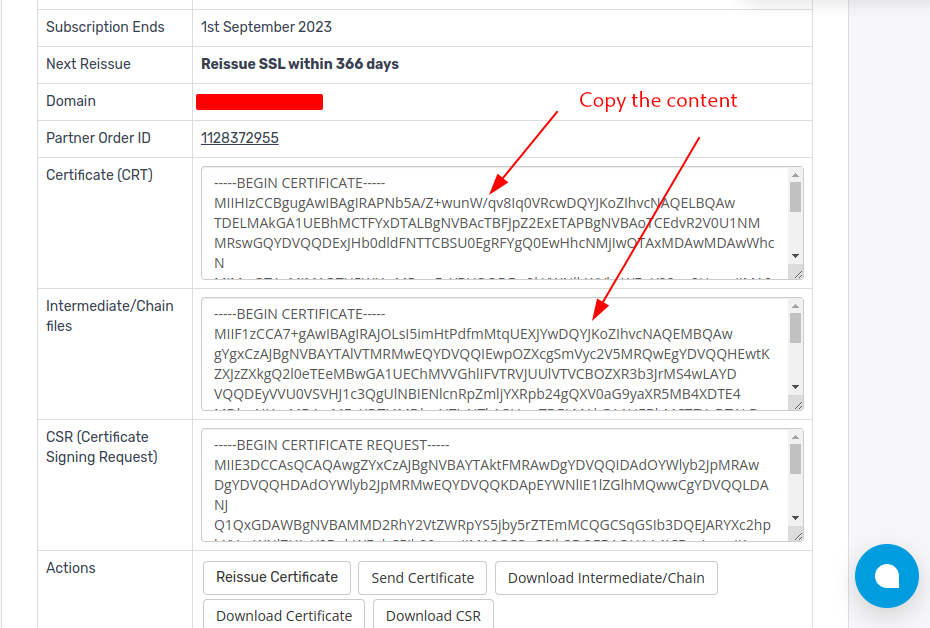
The email sent may take some time. Once delivered, follow the instruction given to validate the SSL. Once done, navigate back to the SSL page on your client area and reload to view the issued SSL and copy the certificate generated.
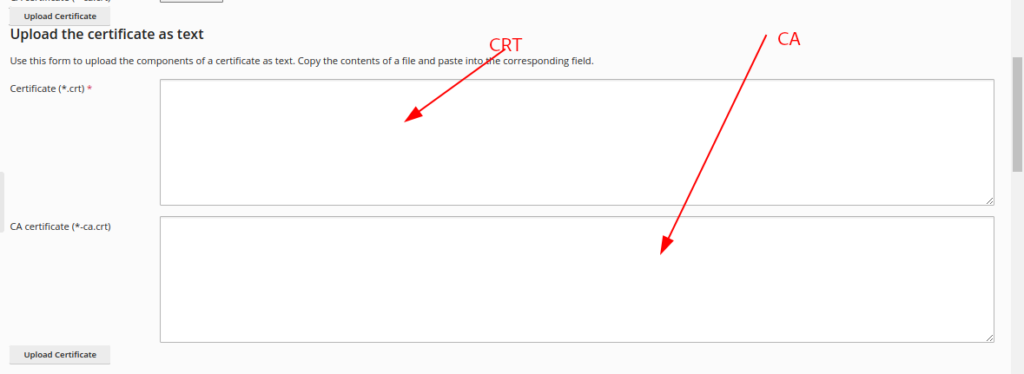
Access the CSR section (on a previous step). Before the CSR section, paste the content copied from the SSL section and click on <Upload Certificate>. see the image above.
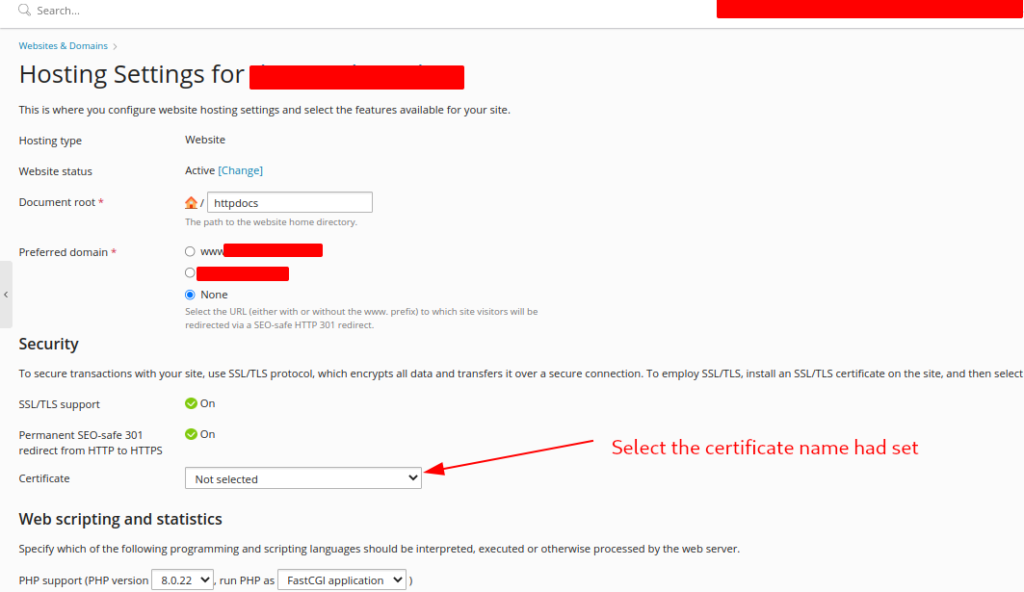
Navigate back to the <Websites & Domains> section on your Plesk account: on your domain name >> Hosting & DNS >> Hosting settings .
On the <Hosting settings for yourdomain> page, scroll to the security section and click on the drop-down. Select the name of the certificate you set earlier and click on <OK>
Navigate to your browser and access your domain name. The SSL has been installed!