 Domain RegistrationFind and register the perfect domain for your website.
 .COM DomainChoose a widely recognized domain to build global credibility.
 All TLDsFind and register your perfect domain. Choose from local and global extensions.
 whoisCheck domain ownership details, expiration dates, and registrar information.
 US DomainRegister a .US domain and build trust in the USA.
 Web HostingEverything your website needs to run smoothly
 WordPress HostingWordPress hosting that just works
 Windows HostingReliable hosting for Windows environments
 Reseller HostingTurn hosting into your business
 Email HostingEmail that looks professional and works anywhere
 cPanel HostingFull control of your hosting with cPanel
 Affiliate ProgramJoin as a partner and earn commissions on every referral you send our way.
 Vps HostingScalable virtual servers that expand as you need.
 Dedicated ServersGet complete access and full control over your dedicated physical server.
 Managed vpsNot tech-savvy? We will take care of everything with our fully managed VPS hosting for you.
Bluehost is a hosting service provider that specialized in offering reliable services that are easy to use alongside great WordPress integration. Bluehost began in 1996 and now has grown to over two million websites across the globe.
The company is well known among novices and mature businesses alike. With hosting plans ranging from shared hosting to dedicated servers, there are plenty of options. Other great features offered by Bluehost include free SSL certificates, round-the-clock customer support, and hassle-free domain name registration.
In relation to setting up email accounts with Bluehost, one important factor to consider is the email host name. This is basically the email host domain name that is needed for the accurate configuration of the email client, thereby facilitating the use of a custom domain for email communication.
By knowing the correct host name, the user is in a position to send or receive emails without problems. This is critical for the purposes of professionals dealing with correspondence. It does not matter whether the email is being created for business or personal purposes, the definition of the email host name should be the first step towards proper email management.
Section 1: What is Host Name of Email Service Provider?
Definition of Host Name of Email Service Provider
An email host name (or in general, a hostname) can be described as the address of the server that is responsible for conducting each operation of sending and receiving email communications. This server performs an operational aspect similar to that of the post office since it is responsible for ensuring that email messages reach their targets.
The Self-explanatory domain is similarly important for cross-referencing the specific server that is used during the process of sending or receiving emails so that different email systems can work together flawlessly — Different clients and servers can send and receive emails thanks to the hostname.
Various hosts can be distinguished from each other by their names, such as “smtp” for sending mails, and “imap” or “pop” for receiving mails associated with a domain name of the email service provider like smtp.gmail.com and so on.
Importance of Email Host Name
The email host name remains important in as far as both the setup and the working of email systems is concerned:
1. Configuration and Routing
The hostname is a main component in the setup of email clients (e.g. Outlook, Thunderbird). Each email is directed to go to the particular server intending to send or receive the particular email. It is a mandate to provide an accurate and valid hostname in order to terminate any uncertainties. In essence, it would avoid unnecessary delays or failures in the sending of emails.
2. Impact on Deliverability
A properly configured hostname is instrumental in shaping an organization’s image before Internet Service Providers (ISPs) and spam filters. Emails, for instance, may be increasingly flagged as possible spam or even blocked altogether if the hostname is either badly designed or suspicious in nature, thus, making successful delivery more difficult.
3. Trust and Recognition
The hostname may help deduce who owns an email server and how its recipients may distinguish who is sending the email, which is especially useful in business settings where email communication often carries a lot of sensitive information.
Section 2: Finding Your Email Host Name on Bluehost.
Accessing Your Bluehost Account
The first participant in the process of finding your email host name at Bluehost should be the user logging into the Bluehost account. To do this, follow these steps:
- Open Your Browser: Make sure you open your preferred web browser.
- Visit the Bluehost Website: You should ensure that you visit the official Bluehost site.
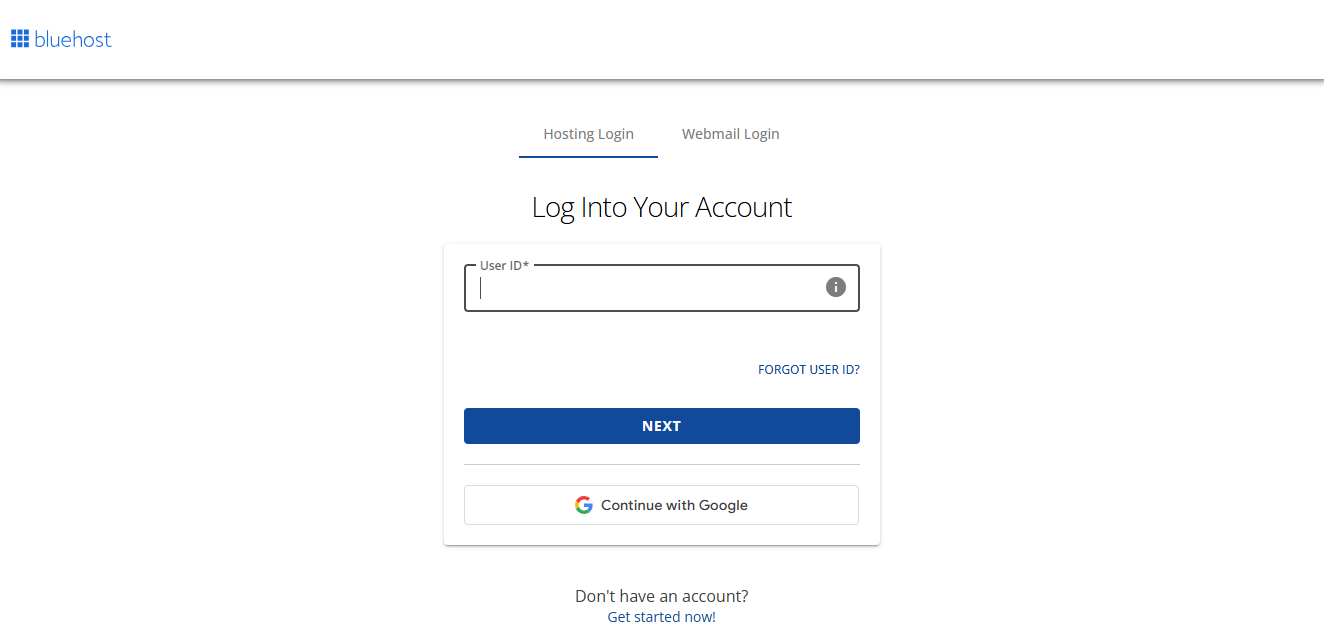
- Log In: You should note that the “Login” button appears on most homepages at the top part of the page on the right hand corner.

- Enter Your Credentials: Type your domain name/email address (linked to your account) and password then click on the submit button.
- Access the Dashboard: After logging in, users are taken to the Bluehost dashboard which makes it easy to manage hosting and email settings.
Finding the Electronic Mail Settings
Every user has a dashboard; once me, as a user, goes there, I can locate the email settings with the following steps.
Step 1. Find Email & Office: Go to the left hand side of the dashboard, when on the homepage, below where the “Email & Office” icon is written, click it.
Step 2. Manage Email Accounts: In this section, there are the following options available concerning email accounts: You would click on manage next to the email account for which you wish to locate the host name.
Step 3. Browse the Settings: In the section for management, “Email Configuration” or ‘Settings’ should be sought. You will find how to set the parameters of the email server including the host name.
Common What is the Host Names for the Bluehost
Bluehost offers email hosting, and on that occasion some of the common host names are inline. Some of these are :
- Incoming Mail (IMAP) : imap.yourdomain.com
- Outgoing Mail (SMTP) : smtp.yourdomain.com
- Alternate Outgoing Mail (POP3) : pop.yourdomain.com
Use your actual domain name registered with Bluehost by inserting it instead of yourdomain.com. This information is required for the correct configuration of email applications so that the sending and receiving of email could function well.
With these actions completed, you will be able in no time to find out what your email host name is on Bluehost and in what way the email configuration is done to allow emailing.
Section 3: How to Configure the Email Client with one of the Host Names
Choosing an Email Client
Regarding your email management: if you want to administer your accounts in a more efficient way, email clients are a must. There are these most common ones that have some scope :
- Microsoft Outlook: An email and calendar client in a single pack. Features like task management make it a great tool for personal as well as professional uses.
- Mozilla Thunderbird: As an open source email application, this is customizable and can cater to work with several accounts. This email application is loved by people who want to be control of most things.
- Apple Mail: Differently placed as macOS and iOS default email clients but have integration features making it easier to use with Apple devices.
- eM Client: A fully functional email client that allows a user to manage multiple email accounts with a few simple clicks during the setup phase, which is ideal for novices.
Read also: Zoho Workplace vs. Zoho Mail. Which Best Meets Your Needs!
Configuration Steps
There are some steps to follow while using your hostname to set up your email client. Here’s comprehensive information with regards to configuring incoming and outgoing server settings.
Incoming Server Settings (IMAP/POP3)
1. Open your Email Client: Select an email client of your choice.
2. Add New Account: You need to search for the option that allows you to add a new email account. This is normally found in the settings or account menu.
3. Enter your email address: You need to write your complete email address such as, [email protected].
4. Choose the Type of Incoming Server:
- For IMAP: Use imap.yourdomain.com
- For POP3: Use pop.yourdomain.com
5. Place Host Name: Provide the host name in agreement with the protocol of your choice.
6. Determine Port Number:
- IMAP: Use port 993 with SSL or 143 with TLS in use.
- POP3: Use port 995 with SSL or 110 with TLS in use.
7. Leave all the details intact and select SSL/TLS as the encryption method if there is that option.
8. In the field for Username, type the full email address, and in the Password field, remember the password you created when making an account.
Outgoing Server Settings (SMTP)
1. Outgoing Server Configuration: Host Name: Utilize smtp.your domain’s name.
2. Set Port Number: SMTP: Port 465 for SSL, port 587 for TLS.
3. Authentication Settings: Outgoing server authentication must be enabled using the user’s full email address as the username and the relevant password.
Troubleshooting Common Issues
There are cases whereby one may face problems, while setting up your email client especially concerning the host name that has been chosen. Here are a few tips that will help you overcome some of the most common errors encountered during setup:
1. Incorrect Host Name
It is a good idea to re-check the host names that have been entered for both the incoming and outgoing servers. It is very likely that one of these names contains a spelling mistake which will preclude connection achievement.
2. Port Issues
Always ensure that there are port numbers that are appropriate for the encryption method you have chosen. Entering the wrong port number is a sure way of causing connection problems.
3. Authentication Errors
If you see that there are some authentication problems that you deal with, ensure that the username you are presenting is correct as well as the password. However, it will remember that passwords are case sensitive.
4. Firewall or Antivirus Interference
In some cases, it is possible that the firewalls or the antivirus application would block connections to the mail servers. If this is the case, disable these applications to confirm that they are indeed the cause of the problem.
5. Consult Documentation
Lastly, in case there are some numbers that are still unidentified, please refer to your email service provider for more documents relevant to the email accounts that have been provisioned with you.
You can easily configure your email client with your host name while managing your emails effectively by doing the following steps and troubleshooting techniques.
Read also: Zoho Workplace Plans Compared: Which Option is Right for Your Business?
Section 4: Best Practices for Managing Your Email Setup
Regularly Updating Settings
Quite important is the requirement to update one’s email settings, say domain administrators or email administrators on a routine basis. This is crucial especially when one changes a domain in any way such as changing hosting companies or changing DNS records for that domain. Here are some key points for which timely update is very important:
- Avoid Outages: Obviously, if there are outdated settings email might not be delivered or sent or keeps bouncing. So, with the help of performing reviews and update configurations regularly practice active email communication.
- Make Sure you Change the Email Settings if You Change the Domain Name: If in case the domain name or the hosting service provider is modified, necessary changes should be carried out on email settings configuration. Not doing so may cause one to lose emails and other useful communications.
- Keep in Mind Security: Just as technology is always advancing in every sector, even email protocols and standards have changed over the years. It is recommended that emails be updated regularly as this guarantees that the latest security features are activated. For example stronger encryption methods and protocols, authentication factors etc., are available to mitigate possible threats.
Security Measures
The first and foremost security measure that should always be taken is securing your email accounts. Some best practices to consider to secure your email configuration:
- Enable SSL or TLS: Ensure that you enable SSL or TLS on your email settings on both the sending and receiving ends. This means that the data sent between the email server and email client is encrypted so that the man in the middle is unable to intercept it.
- Create Complicated Passwords: Ensure that the password created has a combination of small letter and capital letters, numbers, and special characters. Avoid using information that can be easily guessed like names or dates. A password manager can be used to create strong passwords and store them safely.
- Use 2FA: An additional step which makes use of 2FA provides a stronger security practice as it requires users to verify their identity using two methods which are usually the password and a code sent through SMS or generated by an app.
- Conduct Security Checks: Follow-up checks on email security settings and commonly accessed sections is recommended. Such pre-emptive measures are useful to detect any indiscretion or vulnerability that could be harmful when further exploited.
- Avoid Public Wi-Fi for Accessing Email: Public networks can be unsecured and can compromise your data. If it is necessary to check email while on public Wi-Fi, do try to connect through a VPN to secure your internet connection.
Now, if you manage your email setup based on the above advice, you are able to improve functionality of your email communication and security of the sensitive data while remaining contactable.
Read also: Open-Xchange Email Solutions: Pricing Plans and Key Features Compared
Conclusion
Having grasped how to set the email hostname with Bluehost properly, you can rest assured that email communication will not be a hiccup because the setup is smoothly done. The host name acts as the email server’s address which receives and sends messages. Since you have read the provided instructions, you should be able to set up the email clients’ portions of settings without any difficulty and manage it later on if necessary. Finally, email settings should be reviewed and amended, particularly in case there are any modifications to domains or any hosting changes. Also, it is also recommended that strong security practices such as SSL/TLS encryption and two-factor authentication are put in place in order to safeguard email accounts from threats.
Call to Action
We want to hear from you! Post your comments about your email setup experience in the section below. Did you have problems? And how did you deal with them?
Also, do not forget to subscribe to our channel where we share more web hosting and email management tricks. Keep yourself up to date and get the best out of your online presence!